Last updated: April 04, 2024
Set Up Virtual Appliance - ESXi
The PrinterLogic Virtual Appliance is the latest generation of PrinterLogic's private cloud platform. Typical use cases include:
- It’s a streamlined, self-contained solution for new customers who want the benefits of PrinterLogic’s serverless printing infrastructure but need tighter control over their print environment.
- For PrinterLogic Web Stack customers, the Virtual Appliance is a path forward to get the latest features PrinterLogic has to offer. Switching over is a track change but provides the newest functionality and ongoing support.
The PrinterLogic Virtual Appliance gets distributed as a fully integrated, standards-based private cloud solution. As a result, it helps customers maximize their investments in virtual infrastructures designed to reduce unnecessary hardware, software, and ongoing maintenance costs.
The PrinterLogic Client deployment, by default, checks for the use of SSL certificates for security considerations. Using SSL Certificates to encrypt data between the Virtual Appliance and other connected systems is highly recommended to ensure the confidentiality and integrity of your communications. Not using SSL Certificates will require additional configuration that may require assistance from PrinterLogic support engineers.
Minimum System Requirements
Depending on the configured features and user count, the minimum requirements for the Virtual Appliance may increase. Use the recommendations below when creating your Virtual Appliance, but continue to monitor the CPU and RAM utilization and allocate additional resources as needed.
- Four 3.5-4.0 GHz processors. Add two 3.5 GHz processors for each additional 15,000 users.
- 16GB RAM for up to 15,000 users.
- Add 2 CPUs / 8GB RAM for each additional 15,000 users.
- Add a minimum of 2 CPUs and 4GB RAM if using the Internal Service Client.
- Add 2 CPUs and 4GB RAM per 500 CPA/Simple Badge Release installations.
- 150GB free hard disk space for the host disk.
- There should be 50GB of free hard disk space on the persistent storage disk (add 4GB for every 100 printers).
- There is a requirement for NTLMv2 to connect to the appliance-storage shared folder of the PrinterLogic Virtual Appliance.
If you are migrating from a Web Stack instance please refer to the steps on Web Stack Migration to Virtual Appliance. Only continue if you are setting up a new installation of the Virtual Appliance.
Prerequisites
- Download the Virtual Appliance ova file.
- DNS configured properly.
- Identify a FQDN to use for the PrinterLogic Virtual Appliance (i.e., printerlogic.mycompany.com).
- Create an A record in DNS (i.e., printerlogic.mycompany.com) that points to the IP address of the Virtual Appliance.
- Create a CNAME record in DNS (i.e., *.printerlogic.mycompany.com) that points to the A record above (i.e., printerlogic.mycompany.com)
- SSL certificates created and available.
- The SubjectAlternativeName extension must list the two DNS entries above (i.e., printerlogic.mycompany.com and *.printerlogic.mycompany.com). In depth information can be found in the Virtual Appliance SSL Certificates document.
- Open ports for DB access from your machine:
- TCP 3306 - MySQL
- TCP 80 - HTTP
- TCP 443 - HTTPS
- TCP 8000 - Configuration API
- TCP 8080 - Configuration UI
- TCP 445 - SMB
-
(Optional) If you are using advanced features requiring a Service Client, you must ensure the Service Client gets appropriately configured. See Set up a service client for more information.
Configure Virtual Machine
-
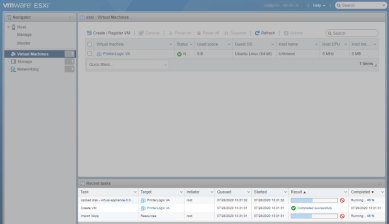
Connect to your ESXi web management interface.
-
From the Virtual Machines object, choose the action Create/Register VM.

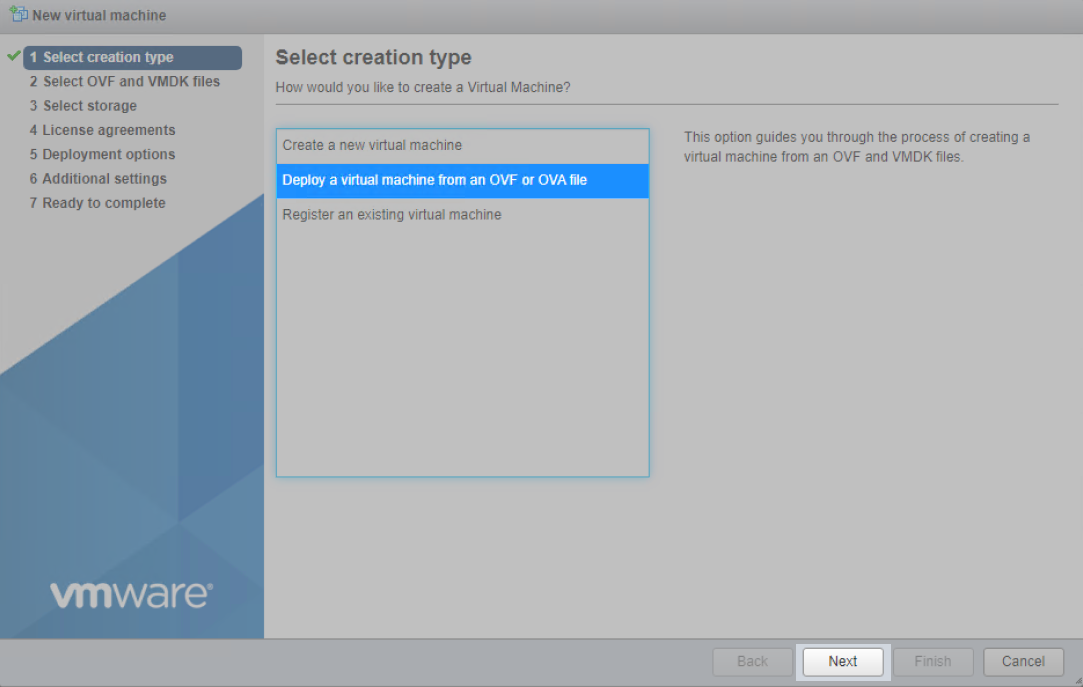
-
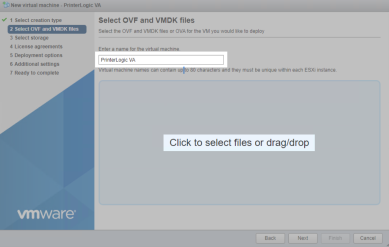
Choose Deploy a virtual machine from an OVF or OVA file, and click Next.

-
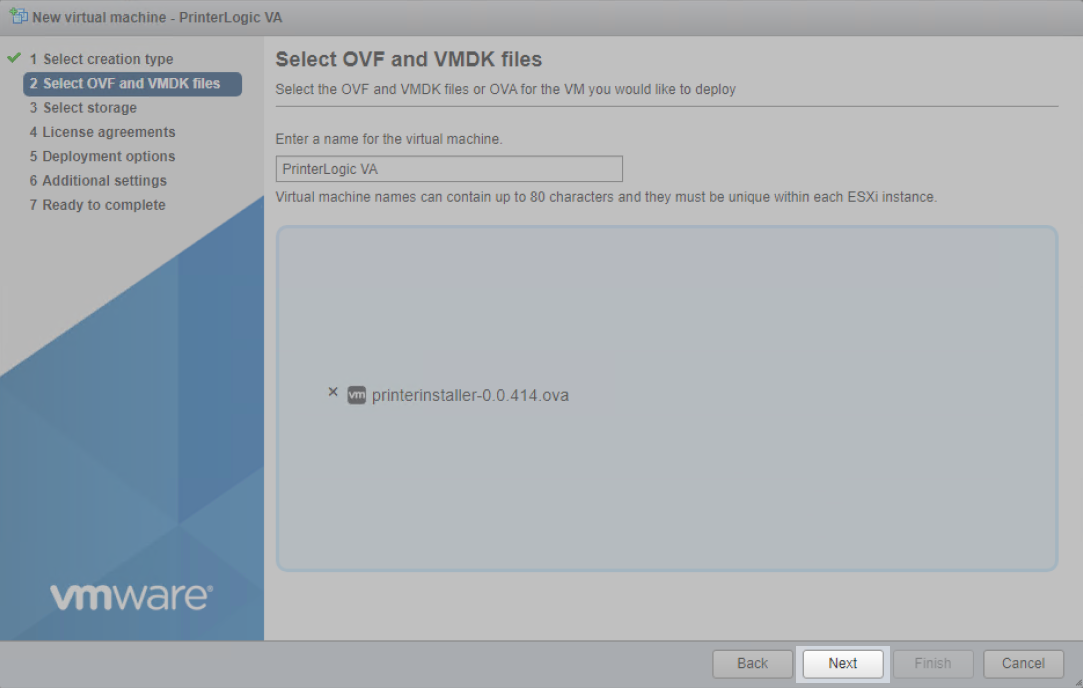
Enter the name for the VM and then Click to select files, and select the OVA file you downloaded earlier.
-
With the OVA file selected, click Next, and allow time for the OVA file to be extracted.

-
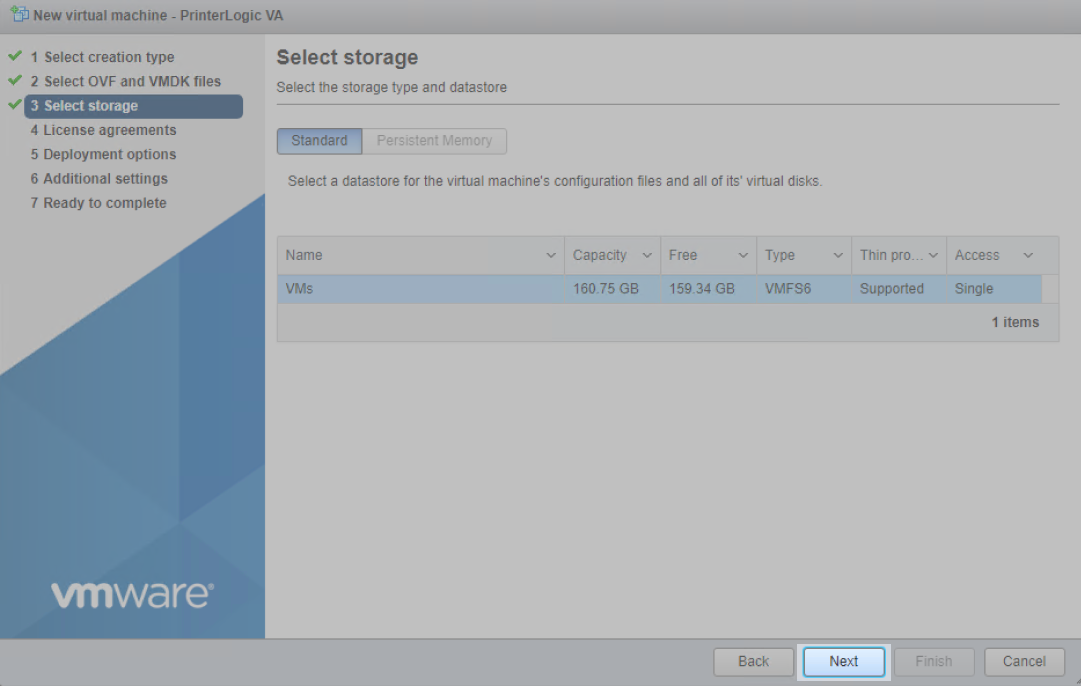
Select the storage to be used for the VM and click Next.

-
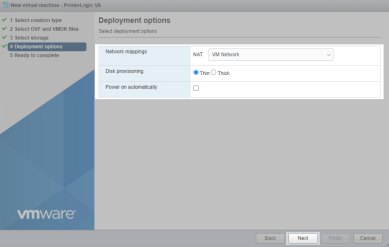
Select the Network mapping for the VM, select whether you want Thin or Thick Disk provisioning, and un-check the Power on automatically option so you can configure other settings prior to powering on. Click on Next.
-
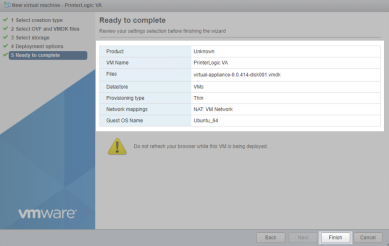
Review your settings summary and then click Finish. Wait for upload to complete.
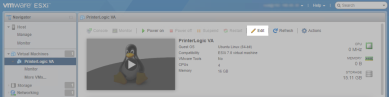
-
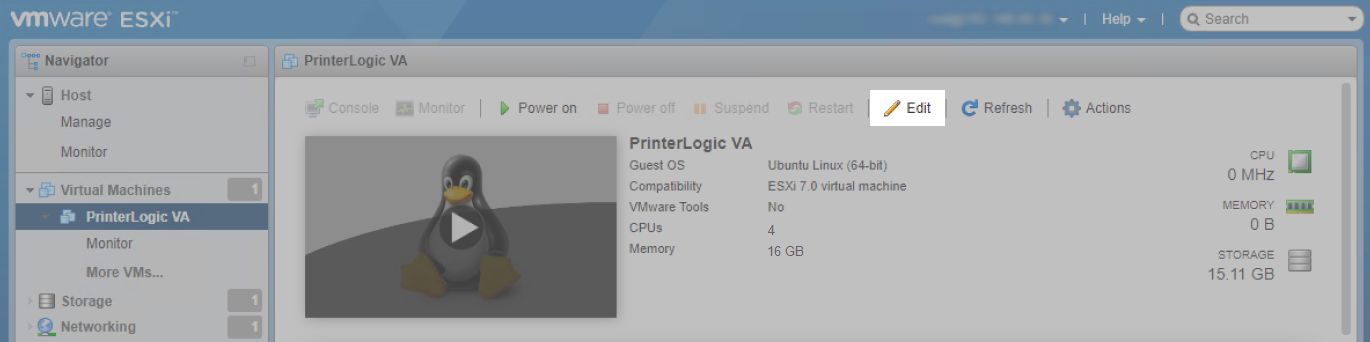
Select the newly created VM and then click Edit.
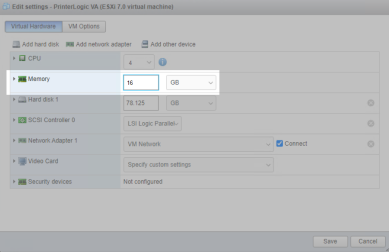
-
Increase the memory to 16 GB minimum.
PrinterLogic recommends 16GB RAM for up to 15,000 users (add 8GB for every additional 15,000 users)
-
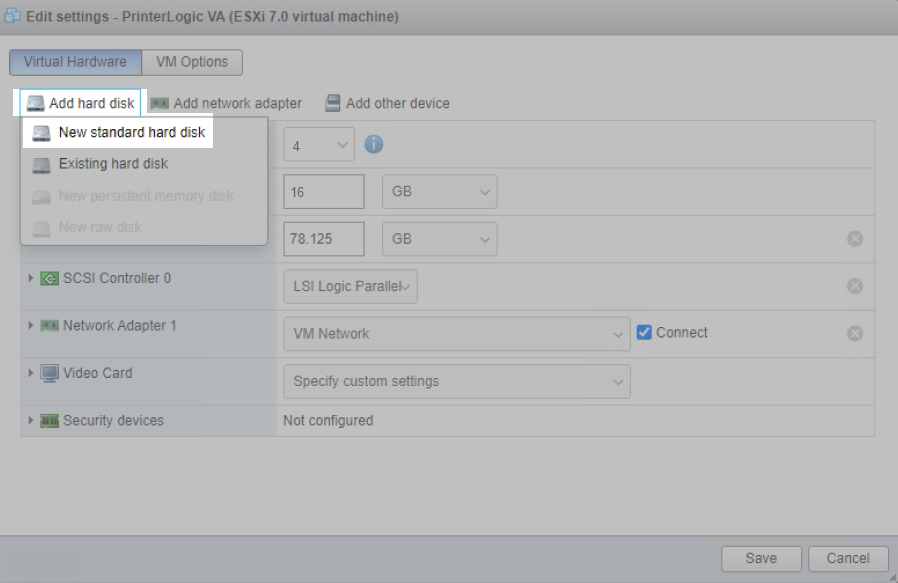
Click Add hard disk, then select New standard hard disk.

-
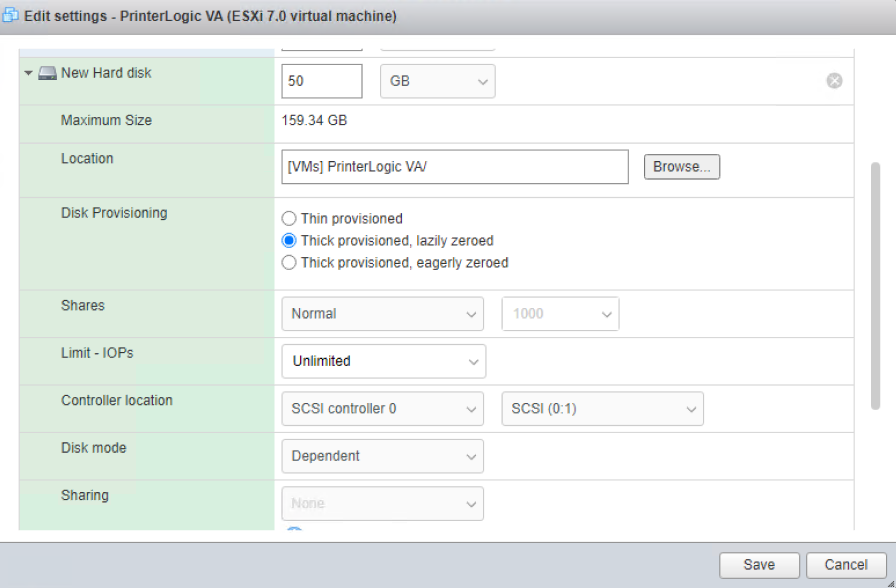
Select the new hard disk and adjust to the recommended minimum size of 50 GB.
PrinterLogic recommends a minimum of 50 GB free persistent hard disk space (add 4 GB for every 100 printers).


-
Click the drop-down arrow next to the New Hard Disk and adjust the location, Disk Provisioning and other settings as needed. Click on Save.

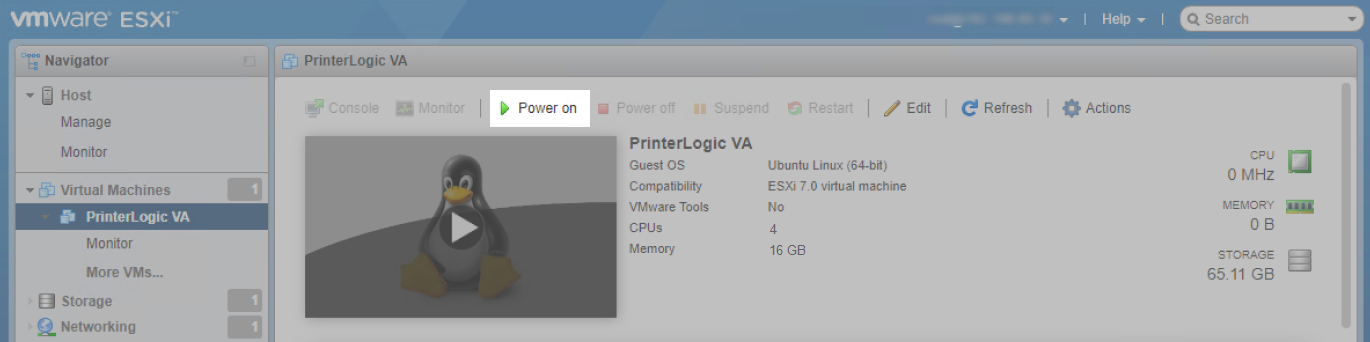
-
Power on the VM and open a console to it.

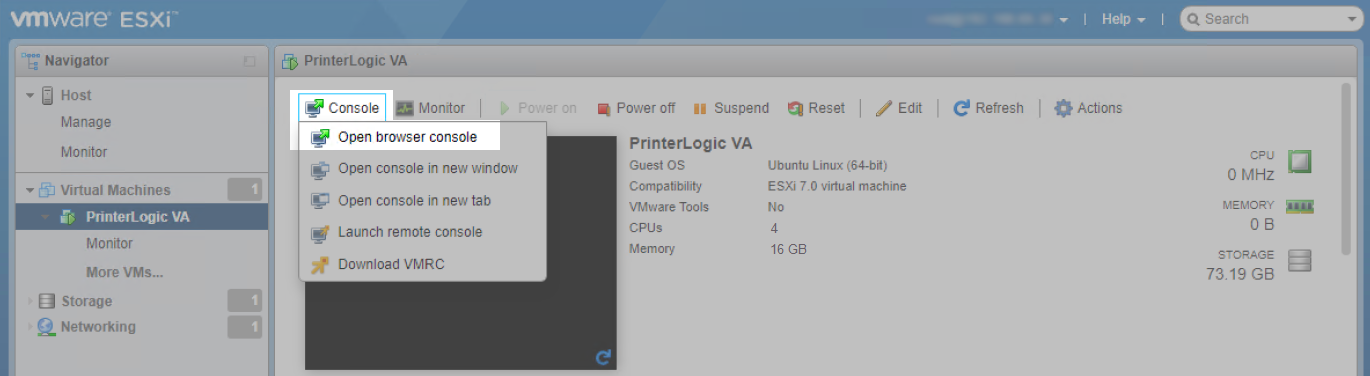
-
Click on Console.

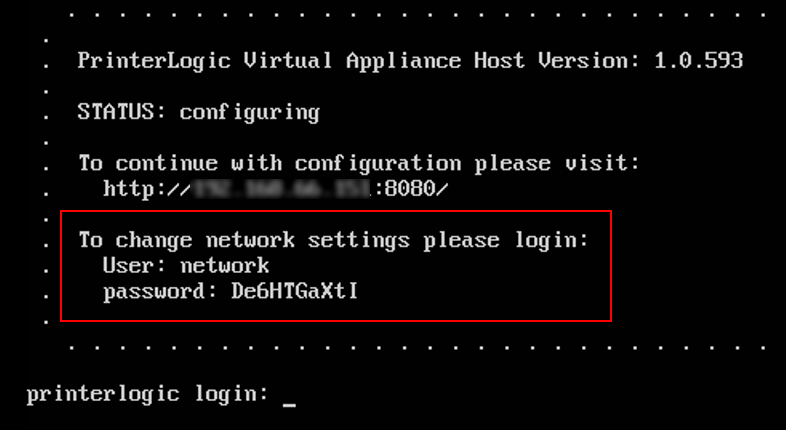
- After VM starts, document the displayed IP address given.
-
Copy down the displayed login and password displayed to be able to access the network settings. This will be needed if you choose to configure static IP settings or make adjustments to IP address ranges.
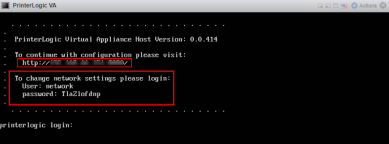
If you will be using a fully qualified domain name for accessing your Virtual Appliance, you should configure it in DNS and assign it the IP address shown on this console. You would also need to have the license file that PrinterLogic provides to contain the same FQDN for the licensed URL. When you are done with configuration from the above URL, the system will redirect you to the FQDN/URL you have in your license. If you are just testing and don’t need to manage more than 5 printers, you can continue to access the server via IP.

Configure Virtual Appliance Network Settings
The Virtual Appliance starts as a DHCP client. It’s possible to leave it that way and configure the TCP/IP settings via DHCP Reservation. Otherwise, use the steps below to configure a static Ip and to optionally change the private IP range that the Virtual Appliance uses by default so that it doesn’t conflict with existing subnets in the environment.
- In the hypervisor where the Virtual Appliance runs, open the web console to access the Virtual Appliance Linux terminal interface.
- Login with the credentials supplied in the terminal banner for the network user.

- Enter "Y" to change the network settings.
- Enter "Y" to change the network mode.
-
Enter the TCP/IP settings.
The image below is just an example. Ensure you use the settings specific to your network.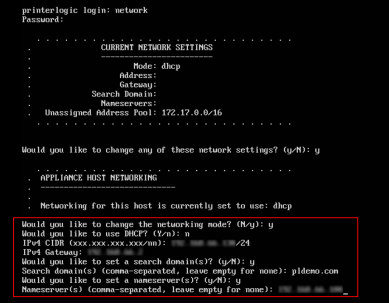
-
If the existing address pool does not conflict with any subnets in the environment, enter “N”. Otherwise, enter “Y” to set a different address range.
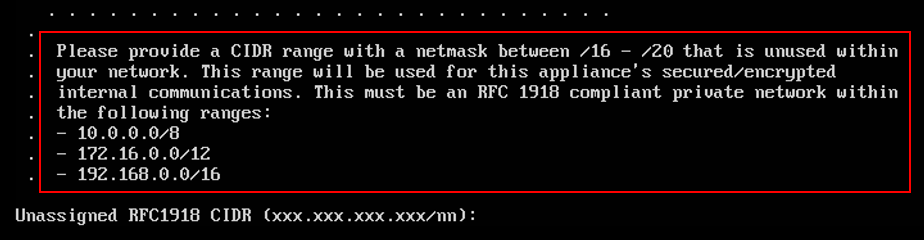
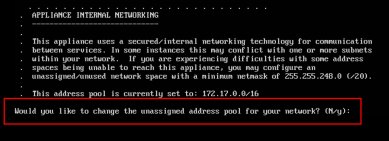 If needing to adjust IP addresses, be sure to read and understand the network range options you are presented with. Any range used must have a netmask < 20.
-
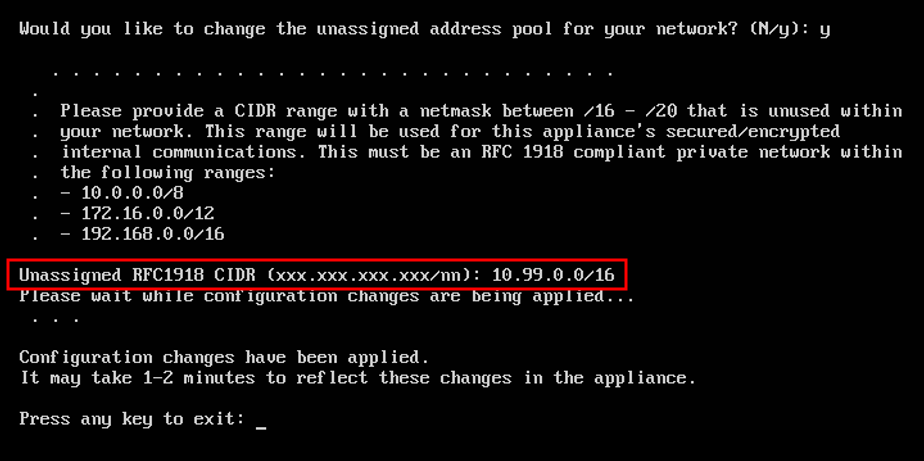
If needing to adjust the IP address ranges, configure the address range.
The image below is just an example. Ensure you use the settings specific to your network.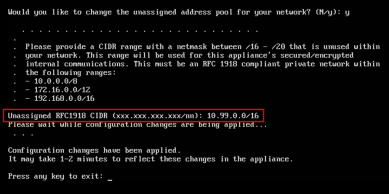
- Press any key to exit.


Launch the Virtual Appliance Wizard
The following steps are ONLY for setting up a new Virtual Appliance. If you are migrating from Web Stack to the Virtual Appliance, continue the migration by selecting Client Cut-over: Step 9 or DNS Cut-over Step 9.
The steps below are for creating new Virtual Appliance instances. If you are upgrading from an older host build, reference Host Upgrade.
- Open your preferred, supported browser window, and paste the IP address into the Address Bar, including port 8080. Example: 192.168.10.20:8080.
-
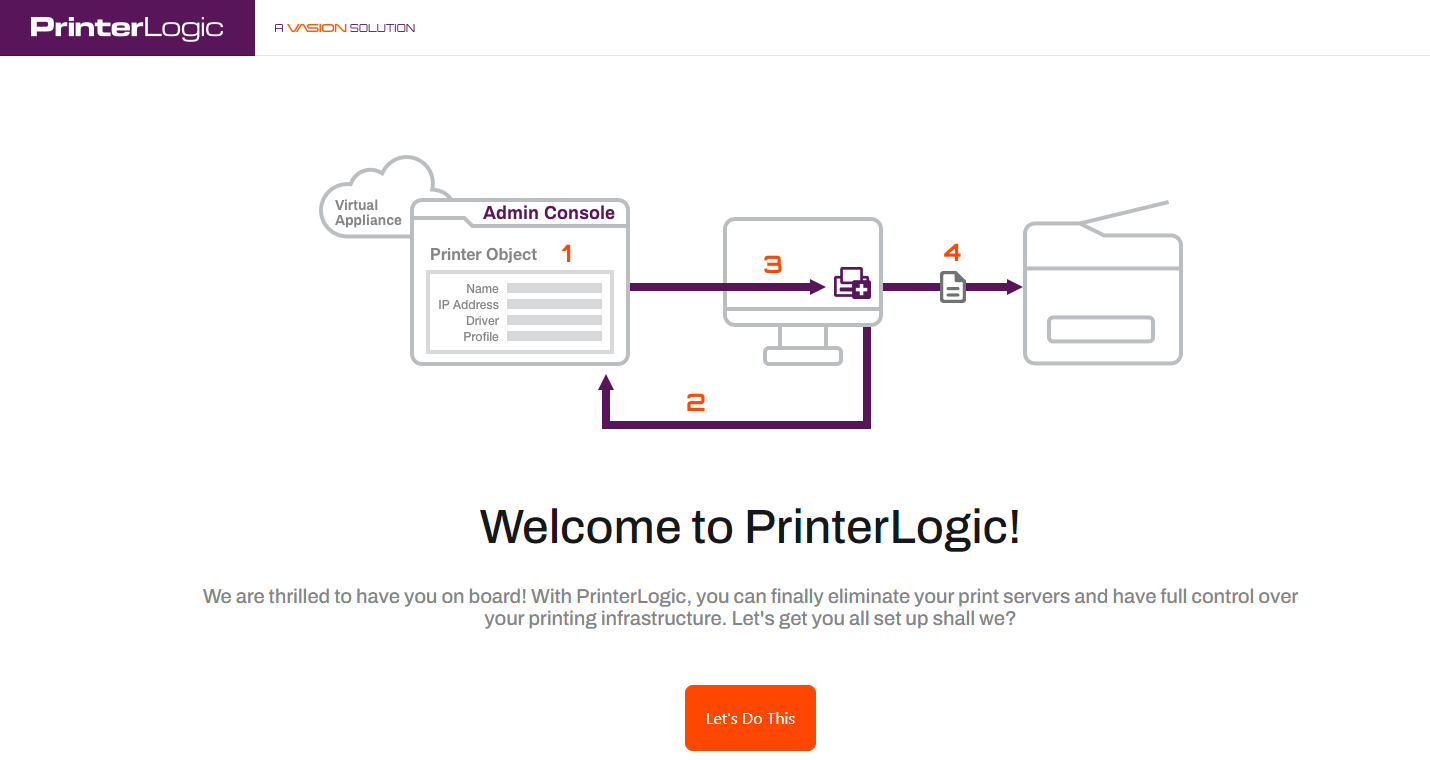
When the PrinterLogic Virtual Appliance wizard appears, click Let's Do This.

-
Select the Storage Type drop-down and select VM-Attached Virtual Disk.

- Click Format Attached Storage.
-
When the attached disk is ready, click Continue.

-
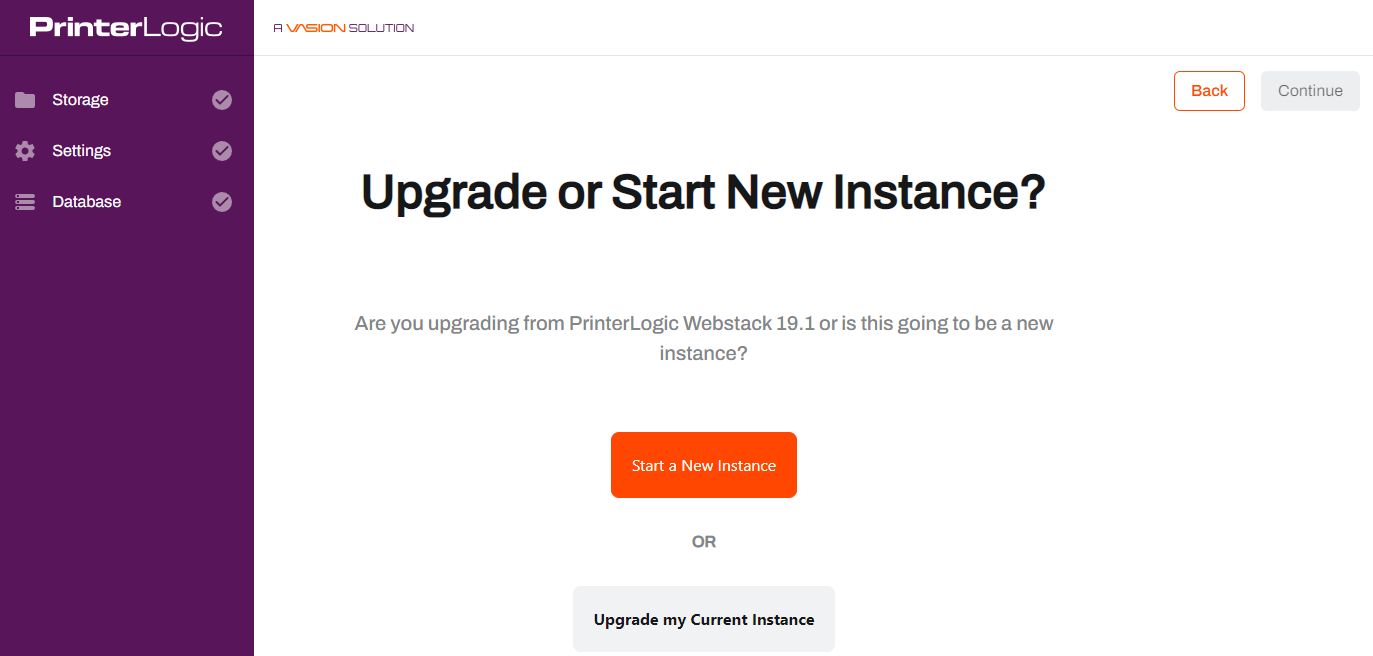
If creating a new Virtual Appliance instance, click on Start New Instance.

-
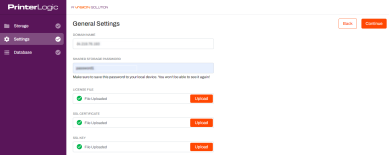
When the General Settings appear add the domain name, then upload your license file, SSL certificate, and SSL key. When finished, click Continue.
Ensure you document and save the Shared Storage Password so you can access the Data Drive later as needed. You can find more information on accessing the shared storage at the end of this document.
-
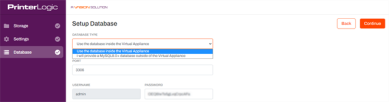
When the Setup Database settings appear, make adjustments on the database type and then click Continue.
If you want the MySQL database to reside on the VM's data drive, then leave the default settings for Database Type.
-
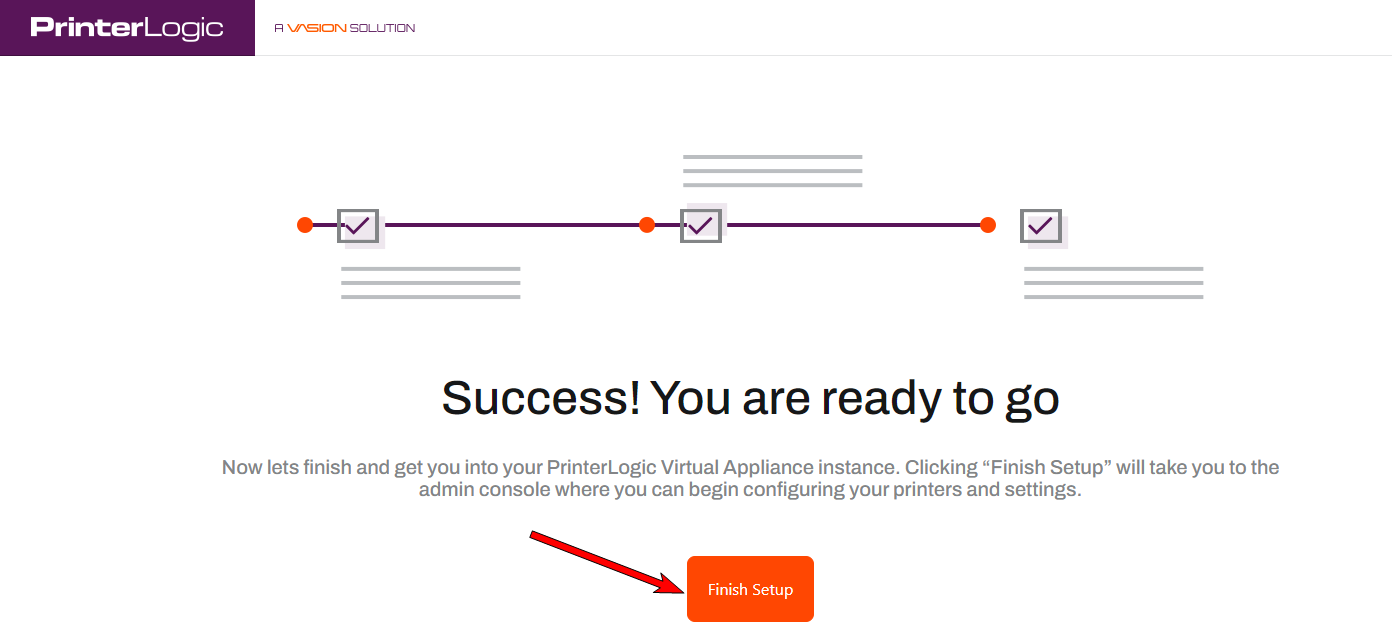
Click Finish Setup.

Please do not refresh the page during the installation procedure.
- A new "Thank You" browser window will open when the installation is complete. This window can be closed as needed.
-
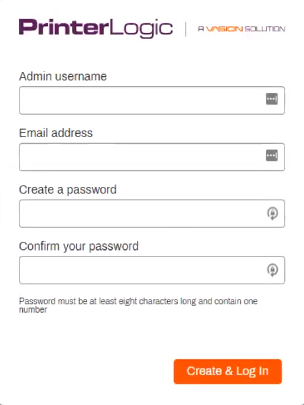
The PrinterLogic Virtual Appliance login window appears, where you can Set up Login Credentials
- Once you are logged in, you will need to accept the License Agreement.
-
You are now ready to work with your PrinterLogic Virtual Appliance.


Accessing Data Files
If you need to add or update a license file or certificate or access the log files, you will need to map a network drive to the Virtual Appliance folder share. This can be done by using a non-elevated command prompt using a command similar to:
net use V: \\<hostname>\appliance-storage <password> /user:Admin /p:yes.
If the password contains special characters you will need to place "quotes" around the password.
Make sure you use a non-elevated command prompt to map the drive. If you have Windows UAC enabled on your workstation, drives mapped from an elevated command prompt are not visible in Windows Explorer by default. You can find additional information in Microsoft documentation.
-
Released: November 21st, 2024
Updated Application Version Included
-
New Mobile App Release
iOS: November 11th, 2024 -
Released: November 11th, 2024