We've Moved!
We've unified our Vasion Print (formerly PrinterLogic) and Vasion Automate documentation into a single, streamlined resource to better serve you. Visit our new unified documentation site: docs.vasion.com
Note: This legacy site will not be updated after January 6, 2025, and will remain available for reference until May, after which all traffic will automatically redirect to docs.vasion.com/a/Get_Started/Automate.htm.

Last updated: December 11, 2024
Configure High Availability
Here are the requirements and steps necessary to configure high availability for Output Automation. The instructions included here explain how to set up your Service Clients for redundancy and storage zones. To see full details about Output Automation high availability, see High Availability.
Requirements
-
You must have at least one additional Output Automation Service Client that meets the minimum required specs. See Service Client.
Running IPv6 on your Windows Service Client may cause conflicts. You may need to disable IPv6 on the Service Client' network adapter to resolve the conflict.
- A shared storage location from one of the following:
- Samba.
- AWS S3 bucket.
- For LPD Service, you must also meet the following prerequisites:
- Enable the LPD Service following these steps, if not already done.
- A load balancer that can distribute print jobs to all available Service Clients configured to use persistent or sticky connections for this LPD traffic, as LPD has acknowledgment messages that need to go to the same service client as the job.
- To use a health check in addition to checking if port 515 is open for the load balancer, you'll need a CA trusted by the load balancer, in a .pem and .key format for the certificate and private key, respectively.
- For Epic, enable the API Print Service following these steps if not already done.
Redundancy
You must specify a configured shared storage location. This storage location stores the print job while determining which Service Client will process the job. If one Service Client is unavailable, the job is automatically routed to another available Service Client.
Zones (Beta)
Setting Zones gives you the choice of which Service Clients are redundant to provide high availability. If you have multiple Service Client machines in multiple regions, this feature offers you the option to ensure redundancy is happening in the same region.
Zone requirements
- Each Service Client in the same zone must use the same shared storage location.
- Each zone must have its own shared storage. Different zones cannot use the same shared storage.
Configure High Availability
Perform the following steps on all Service Clients you want to use for high availability.
- In the Admin Console, select the Service Client.
- Select the Output Automation tab.
-
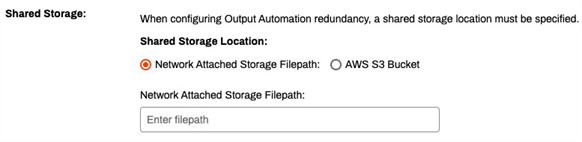
In the Shared Storage section, select the type of storage location.
-
Samba — select Network Attached Storage Filepath field and complete the following:
-
Enter the full filepath to the storage location to store print jobs.

-
-
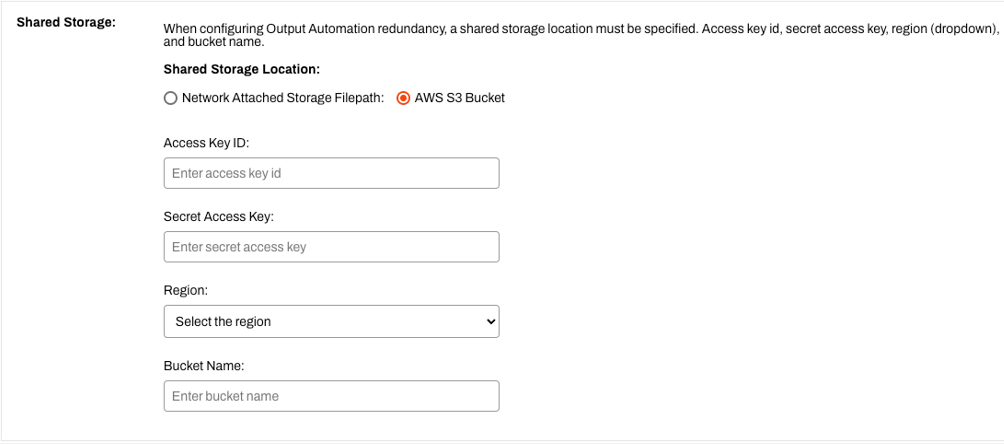
AWS S3 bucket — select AWS S3 Bucket and complete the following:
- Access Key ID — enter the access key ID for the S3 bucket.
- Secret Access Key — enter the secret access key for the S3 bucket.
- Region — use the drop-down to select the S3 bucket region.
- Bucket Name — enter the S3 bucket name.

-
-
In the Zonesection, use the drop-down to select the zone you want to assign to this Service Client.


Configure a Load Balancer Health Check for Epic
Configure the load balancers health check to use the following curl command replacing <ServiceClientDNSName> with the DNS name of your Service Client and the port number to the port you are using for your services.
curl --request GET \
  --url https://<ServiceClientDNSName>:31990/healthcheck
Configure a Load Balancer Health Check for LPD Service
The following section covers the necessary steps to configure a load balancer health check when you use LPD Service. Of course, you can just confirm that port 515 is open, but enabling some Epic-specific settings provide more detailed information on the load balancer's status.
- Scroll back up to the DNS Name section.
-
In the Domain Name field enter the DNS Name of the Service Client you are using for Output Automation.

-
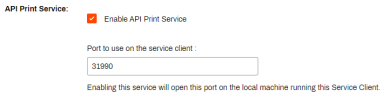
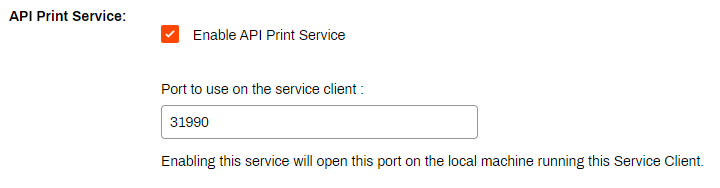
In the API Print Service section, select Enable API Print Service.
-
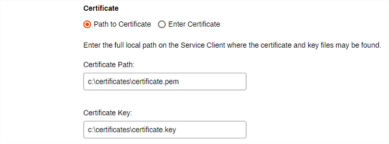
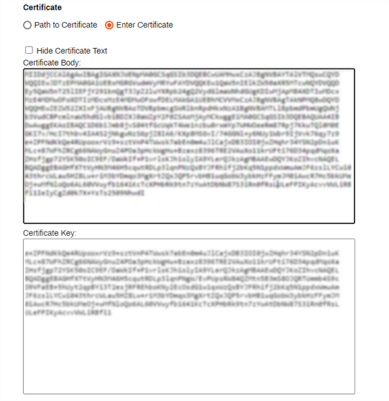
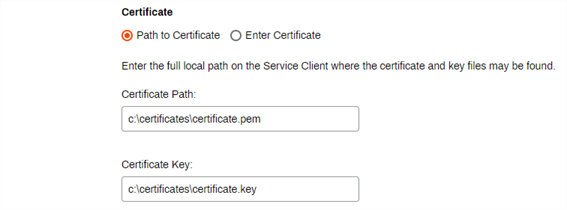
Enter the information for your certificate using one of the following options:
-
Path to Certificate — enter the file path to where your .pem and .key files are stored on the Service Client.
-
Enter Certificate — paste the contents of the certificate and key files into the corresponding text boxes.
-
- Select Save.
-
Configure the load balancers health check to use the following curl command replacing
<ServiceClientDNSName>with the DNS name of your Service Client.Copy Codecurl --request GET \
--url https://<ServiceClientDNSName>:31990/healthcheck


-
Week Ending In Jan 4th, 2025
-
Released: Dec 27th, 2024
-
Released: Dec 23rd, 2024
-
Android/iOS: Dec 23rd, 2024
-
Released: Dec 9th, 2024