We've Moved!
We've unified our Vasion Print (formerly PrinterLogic) and Vasion Automate documentation into a single, streamlined resource to better serve you. Visit our new unified documentation site: docs.vasion.com
Note: This legacy site will not be updated after January 6, 2025, and will remain available for reference until May, after which all traffic will automatically redirect to docs.vasion.com/a/Get_Started/Automate.htm.

Last updated: December 11, 2024
Configure Epic
Give Epic print administrators control of their print environment inside and outside of Epic with Vasion Print (formerly PrinterLogic). Eliminate the need to install print queues on the Epic print servers altogether and move to a driver-less print model, reducing the work required to maintain the print environment.
There are two places you’ll need to configure settings for the Epic connector, in the Vasion Print (formerly PrinterLogic) Admin Console and inside Epic's administrative settings.
To use the Epic Connector functionality, contact your Vasion Print (formerly PrinterLogic) Customer Success Manager.
Requirements
-
You must have a functional Service Client that meets the minimum required specifications. See Service Client.
Running IPv6 on your Windows Service Client may cause conflicts. You may need to disable IPv6 on the Service Client's network adapter to resolve the conflict.
-
Your Service Client must be able to access
https://agent-api.app.printercloud.com/.- If you are also using Off-Network Print, your service client must be able to access the following:
ofn.app.printercloud.comofn-gw.app.printercloud.com
Ensure you add the region code after printercloud, if applicable. Example: For Canada, add a 15 after printercloud:https://agent-api.app.printercloud15.com/, EMEA add a 5, APAC add a 10, Singapore add a 20. - If you are also using Off-Network Print, your service client must be able to access the following:
- Have a certificate signed by a Certificate of Authority (CA) trusted by your Epic instance.
-
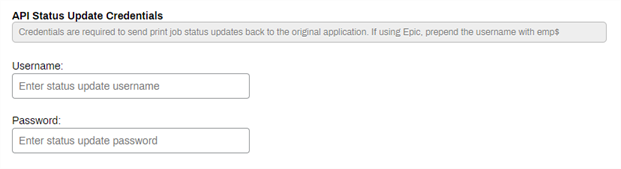
Obtain an EMP record for use when configuring the Epic service that has system login access.
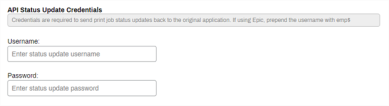
Epic credentials are required to send detailed print job status updates back to the Epic server.
- Collect the Epic Endpoint record (E0A) basic authentication username and password to use during the configuration.
Enable Epic Connector Service
- In the Admin Console, select the Service Client where you want to configure Epic.
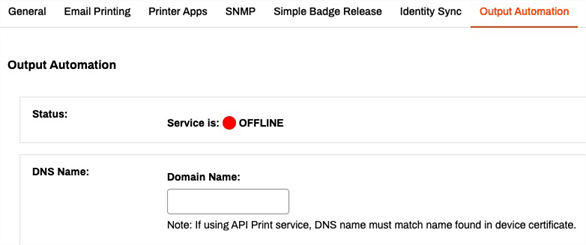
- Select the Output Automation tab.
-
Enter the DNS Name of the Service Client you are using for Output Automation.

This DNS name must match the device certificate name. The Service Client must map this DNS name to its local IP address. If this field is empty, the service will fail to start, and a "Failed to get host address" error is added to the log.
-
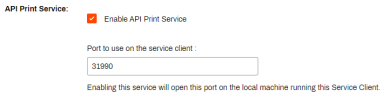
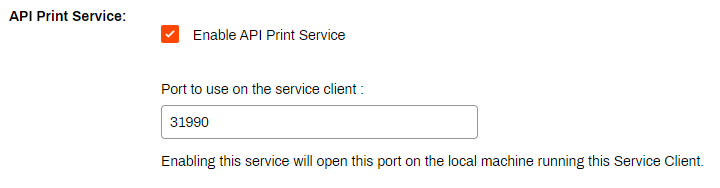
Scroll down to the API & IPP Print Service section and select Enable API Print Service.
-
If needed, change the port number to match your Epic settings. The Epic default is 31990.
-
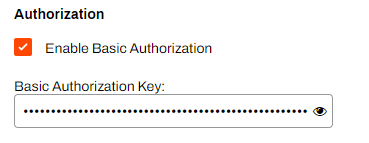
Select Enable Basic Authentication.
- Highlight and delete the generated code.
- Enter in the Epic Endpoint record (E0A) basic authentication username and password.
- Format — username:password

-
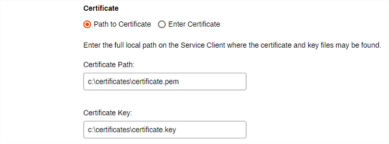
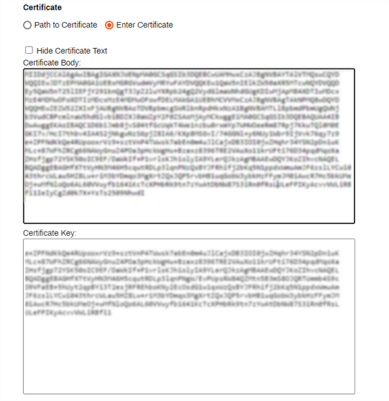
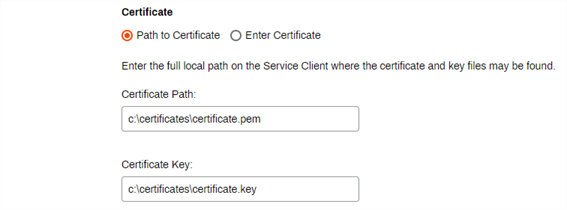
Enter the information for your certificate using one of the following options:
-
Path to Certificate — enter the file path to where your .pem and .key files are stored on the Service Client.
-
Enter Certificate — paste the contents of the certificate and key files into the corresponding text boxes.
-
-
-
Enter the EMP Record credentials. These credentials must match the EMP credentials set inside Epic.
- Select Save.

The Status section displays a Green circle and states the service is Online when everything is configured correctly.

API Print Service
For information on the API Services and print options, visit the Developer APIs documentation.
Optional Next Step
Troubleshooting Help
In some setups, external applications may need to reach the Output Automation Service Client using a DNS name that resolves to an external IP address. However, this can cause issues the following issues:
- The Service Client cannot resolve the DNS name to its internal IP address.
- External DNS resolution conflicts with internal requirements.
Check if the Service Client can resolve the DNS name to its internal IP address. If the DNS name doesn't resolve correctly, you may need to modify the hosts file. See Troubleshoot DNS Resolution for Output Automation-Service Client
Ensure that the DNS name in the UI matches the one in the certificate used by the Service Client.
-
Week Ending In Jan 4th, 2025
-
Released: Dec 27th, 2024
-
Released: Dec 23rd, 2024
-
Android/iOS: Dec 23rd, 2024
-
Released: Dec 9th, 2024