Last updated: August 13, 2024
Set Up Virtual Appliance - Azure
The PrinterLogic Virtual Appliance is the latest generation of PrinterLogic's private cloud platform. Typical use cases include:
- It’s a streamlined, self-contained solution for new customers who want the benefits of PrinterLogic’s serverless printing infrastructure but need tighter control over their print environment.
- For PrinterLogic Web Stack customers, the Virtual Appliance is a path forward to get the latest features PrinterLogic has to offer. Switching over is a track change but provides the newest functionality and ongoing support.
The PrinterLogic Virtual Appliance gets distributed as a fully integrated, standards-based private cloud solution. As a result, it helps customers maximize their investments in virtual infrastructures designed to reduce unnecessary hardware, software, and ongoing maintenance costs.
The PrinterLogic Client deployment, by default, checks for the use of SSL certificates for security considerations. Using SSL Certificates to encrypt data between the Virtual Appliance and other connected systems is highly recommended to ensure the confidentiality and integrity of your communications. Not using SSL Certificates will require additional configuration that may require assistance from PrinterLogic support engineers.
Minimum System Requirements
Depending on the configured features and user count, the minimum requirements for the Virtual Appliance may increase. Use the recommendations below when creating your Virtual Appliance, but continue to monitor the CPU and RAM utilization and allocate additional resources as needed.
- Four 3.5-4.0 GHz processors. Add two 3.5 GHz processors for each additional 15,000 users.
- 16GB RAM for up to 15,000 users.
- Add 2 CPUs / 8GB RAM for each additional 15,000 users.
- Add a minimum of 2 CPUs and 4GB RAM if using the Internal Service Client.
- Add 2 CPUs and 4GB RAM per 500 CPA/Simple Badge Release installations.
- 150GB free hard disk space for the host disk.
- There should be 50GB of free hard disk space on the persistent storage disk (add 4GB for every 100 printers).
- There is a requirement for NTLMv2 to connect to the appliance-storage shared folder of the PrinterLogic Virtual Appliance.
Prerequisites
- DNS configured properly.
- Identify a FQDN for the PrinterLogic Virtual Appliance (i.e., printerlogic.mycompany.com).
- Create an A record in DNS (i.e., printerlogic.mycompany.com) that points to the IP address of the Virtual Appliance.
- Create a CNAME record in DNS (i.e., *.printerlogic.mycompany.com) that points to the A record above (i.e., printerlogic.mycompany.com)
- Have SSL certificates created and available.
- The SubjectAlternativeName extension must list the two DNS entries above (i.e., printerlogic.mycompany.com and *.printerlogic.mycompany.com). You can find In-depth information in the Virtual Appliance SSL Certificates document.
- Open ports for access from your machine:
- TCP 3306 - MySQL
- TCP 80 - HTTP
- TCP 443 - HTTPS
- TCP 8000 - Configuration API
- TCP 8080 - Configuration UI
- TCP 445 - SMB
- (Optional) If you are using advanced features requiring a service client, you must ensure you have a properly configured Service Client. See the Set up a service client in the Virtual Appliance topic for more information.
Setup Steps
- Sign in to the Microsoft Azure Portal with your administrative credentials.
- Select the Create a Resource option.
-
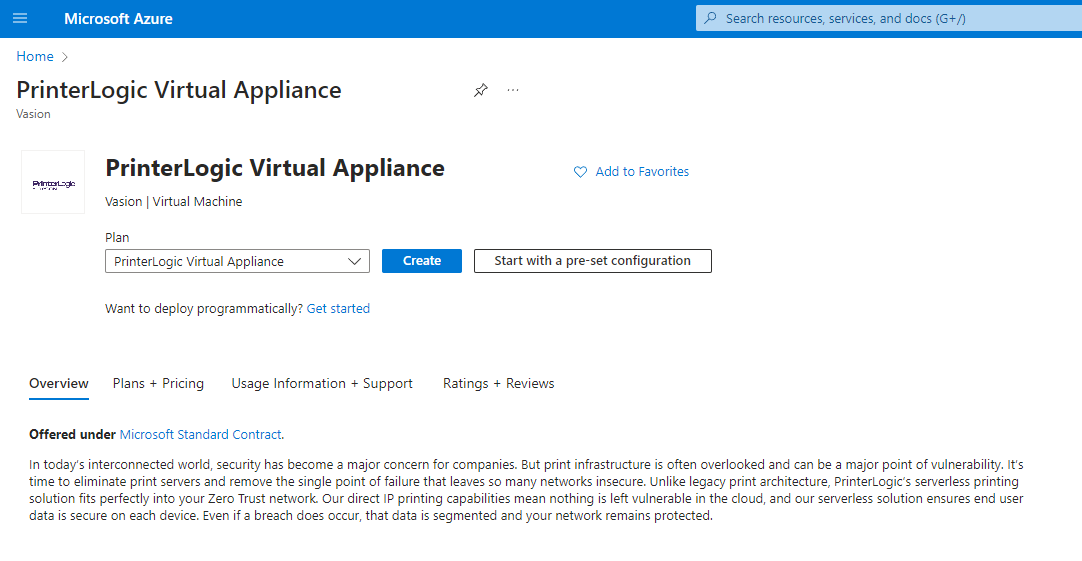
Search for and select the PrinterLogic Virtual Appliance service.

-
Select Create.
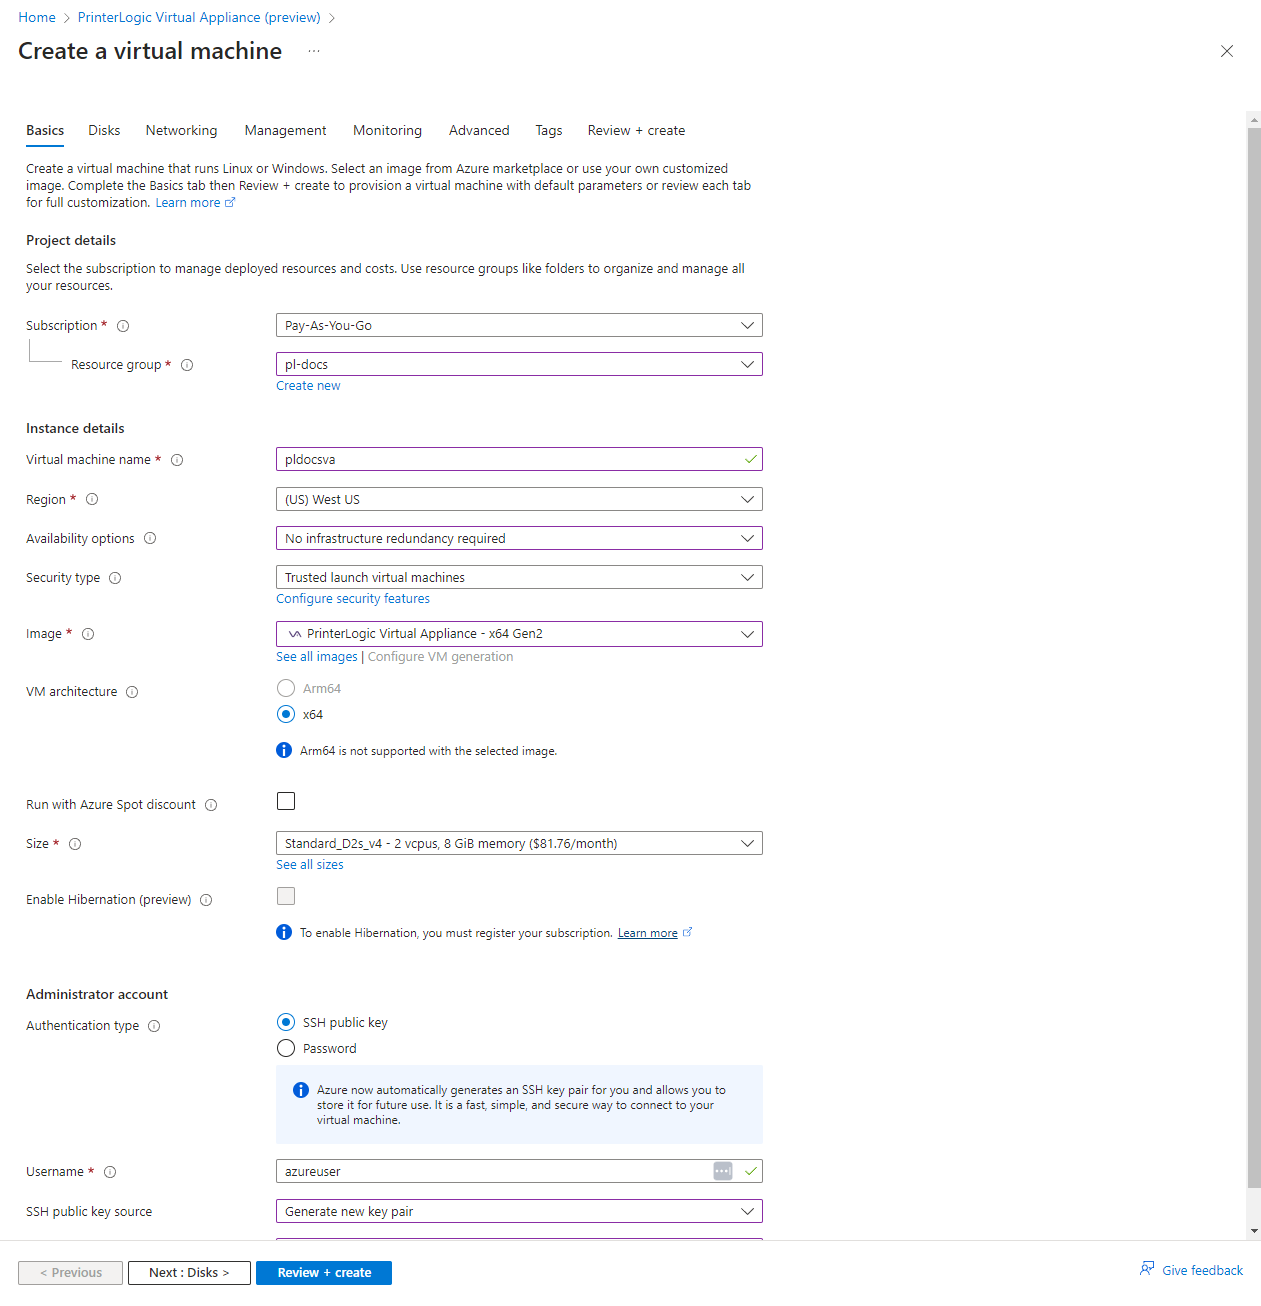
- On the Basics tab, use the following guidance. If the option is not listed here, it can either be left as default or as needed for your environment:
- Subscription: Select as needed for your environment.
- Resource Group: Select as needed for your environment.
Virtual machine name: Enter the name you want as your Azure Resource Identifier.
Region: Select the Region in which this Virtual Appliance will reside.
Availability Options: Select any options and sub-options as needed for your environment.
Security Type: Select as needed for your environment.
Image: Select PrinterLogic Virtual Appliance - x64 Gen2.
VM Architecture: Select x64.
Size: Select at least one of the recommended images or larger for your environment.
Authentication Type and corresponding fields: Select as needed for your environment.
- Select Next : Disks >
- OS Disks: No configuration is needed on the OS Disks tab.
- Storage Disks: Do not create a new storage disk for the PrinterLogic Virtual Appliance here. Adding the disk will be done later once the VM is running.
-
Select Next : Networking >
This VM image has preconfigured NSG rules. If you need to change them, such as giving it a public IP, you will also need to modify the security rules. The following steps only cover basic configuration, assuming no modifications to the network settings.
- On the Networking tab, use the following guidance. If the option is not listed here, it can either be left as default or as needed for your environment:
Virtual Network: Select as needed for your environment.
- Subnet: Select as needed for your environment.
Public IP: These configuration steps assume a public IP address is not used. If a Public IP is desired, see the warning above.
NIC Network Security Group: Select Advanced.
Configure Network Security Group: Select as needed for your environment if you modified any above network settings.
Load Balancing options: Select as needed for your environment.
- Select Next : Management >
-
Nothing is required for basic configuration on the Management tab; however, you may make changes as needed for your environment.
On the Management tab, you may see a warning message stating that Entra ID is not supported with this image. This warning refers to the Azure virtual machine, not the PrinterLogic application.
- Select Next : Monitoring >
- On the Monitoring tab, use the following guidance. If the option is not listed here, it can either be left as default or as needed for your environment:
- Alerts: Select as needed for your environment.
- Boot Diagnostics: Select as needed for your environment.
Enable OS guest Diagnostics: Select as needed for your environment.
Health options: Select as needed for your environment.
- Select Next : Advanced >
- Nothing is required for basic configuration on the Advanced tab; however, you may make changes as needed for your environment..
- Select Next : Tags >
- On the Tags tab, add any tags that you may need for your environment.
- Select Next : Review + Created >
- On the Create A Virtual Machine tab, confirm your configuration settings are as needed for your environment.
- Select Create.
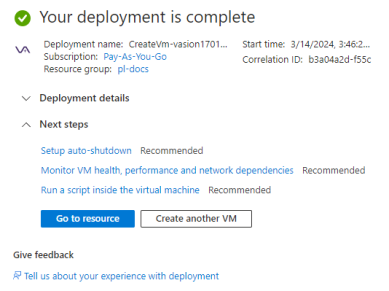
-
Once your deployment is complete, select Go to Resource.


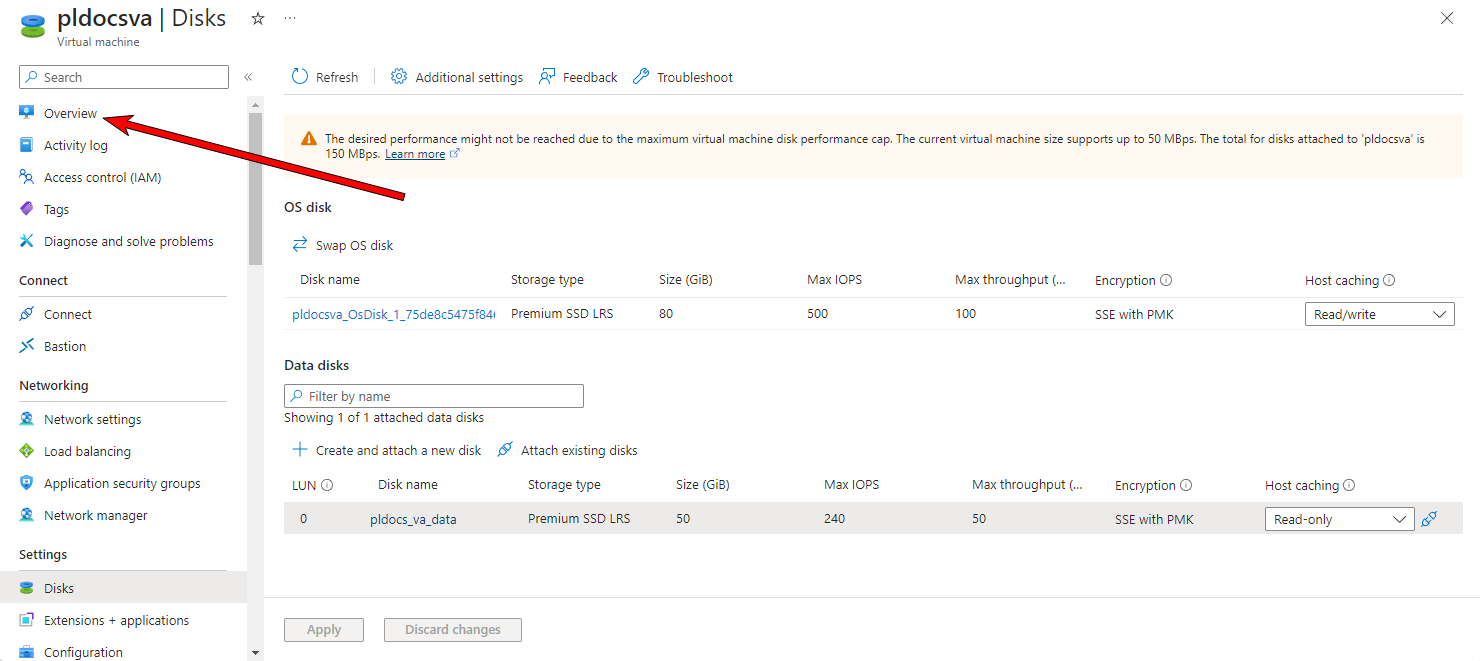
Create and Attach the Data Volume Disk
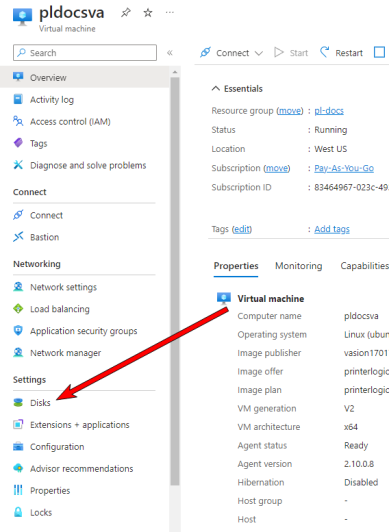
-
Select Disks under the Settings section of the side panel.
-
Select + Create and Attach a New Disk.
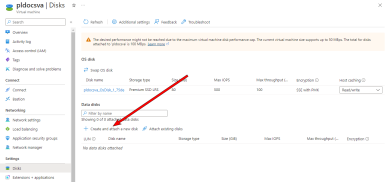
- Name the disk as needed for your environment.
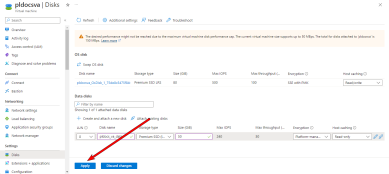
- Adjust Storage Type as needed.
-
Add a minimum of 50 GB as per minimum required specifications. Add additional space as needed.
Adjusting your disk size directly correlates with the amount of Max IOPS and Max Throughput (MBps) you have. Adjust the disk size accordingly as needed in your environment.
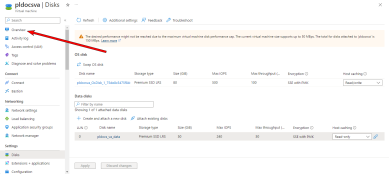
-
Select Apply.
-
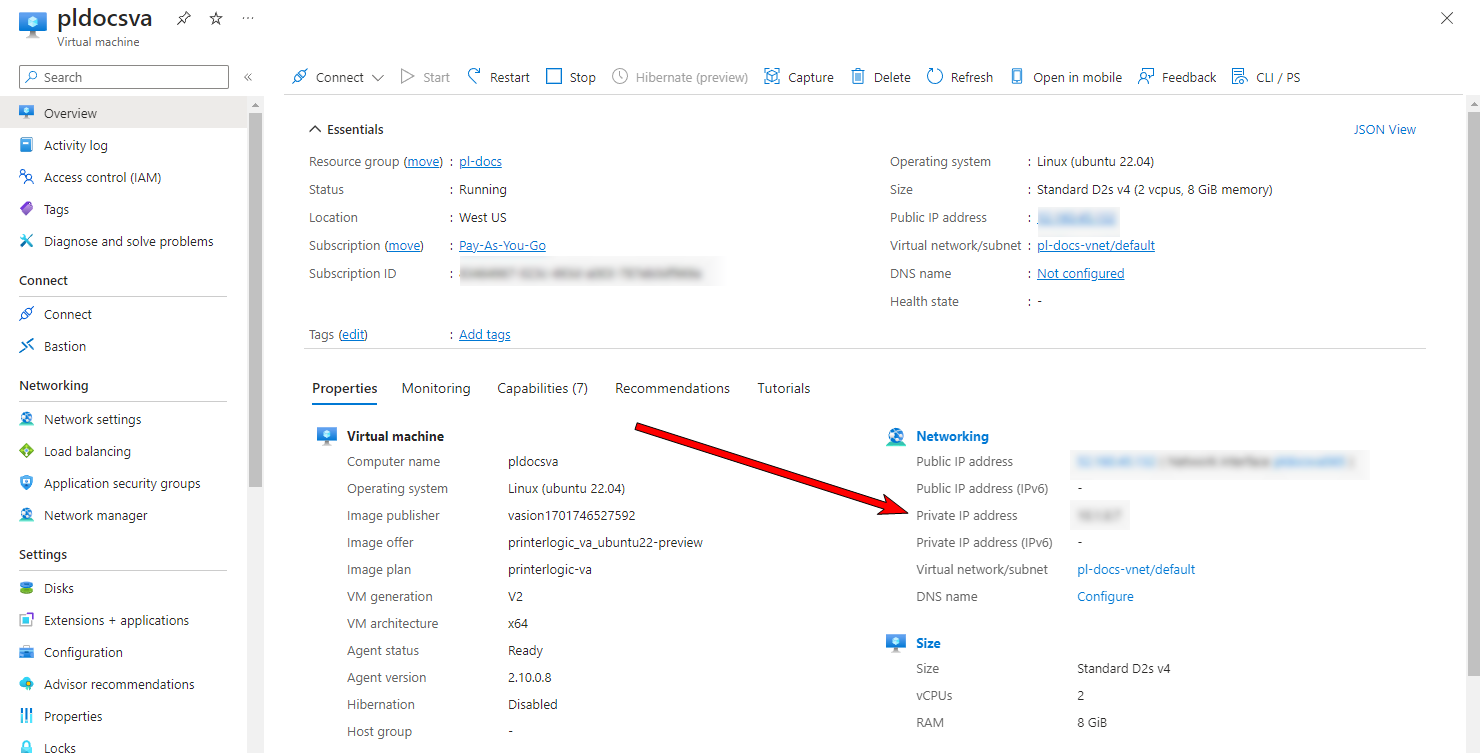
In the left panel select Overview.
-
Copy the IP Address of the Virtual Appliance.

-
Open your preferred, supported browser window and paste the IP address, including port 8080, into the Address Bar. For example, 192.168.10.20:8080.

-
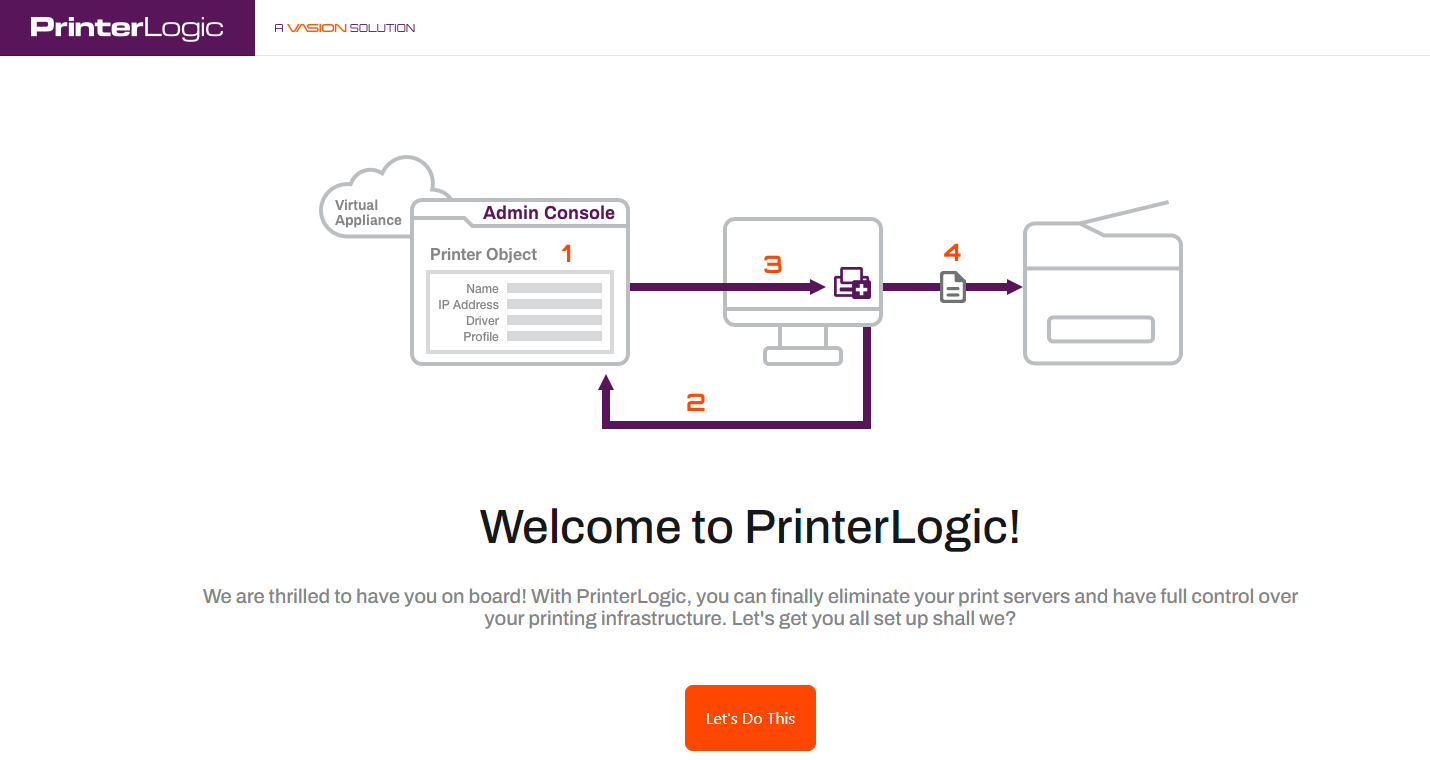
When the PrinterLogic Virtual Appliance wizard appears, click Let's Do This.

-
Select the Storage Type drop-down and select VM-Attached Virtual Disk.

- Click Format Attached Storage.
-
When the attached disk is ready, click Continue.

- Click on Start New Instance.
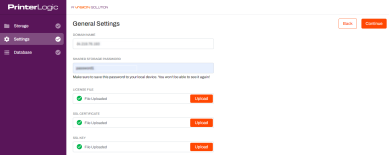
-
When the General Settings appear, make changes as needed to the domain name and upload your license file, SSL certificate, and SSL key. After you are finished, click Continue.
The domain name field is the FQDN of your Virtual Appliance instance. Example: printerlogic.mycompany.com
Ensure you document and save the Shared Storage Password to access the Data Drive later as needed. More information on accessing the shared storage at the end of this document.
-
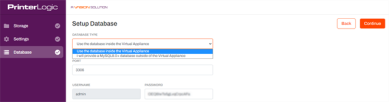
When the Setup Database settings appear, adjust the database type as needed and click Continue.
If you want the MySQL database to reside on the VM's data drive, leave the default settings for Database Type.
-
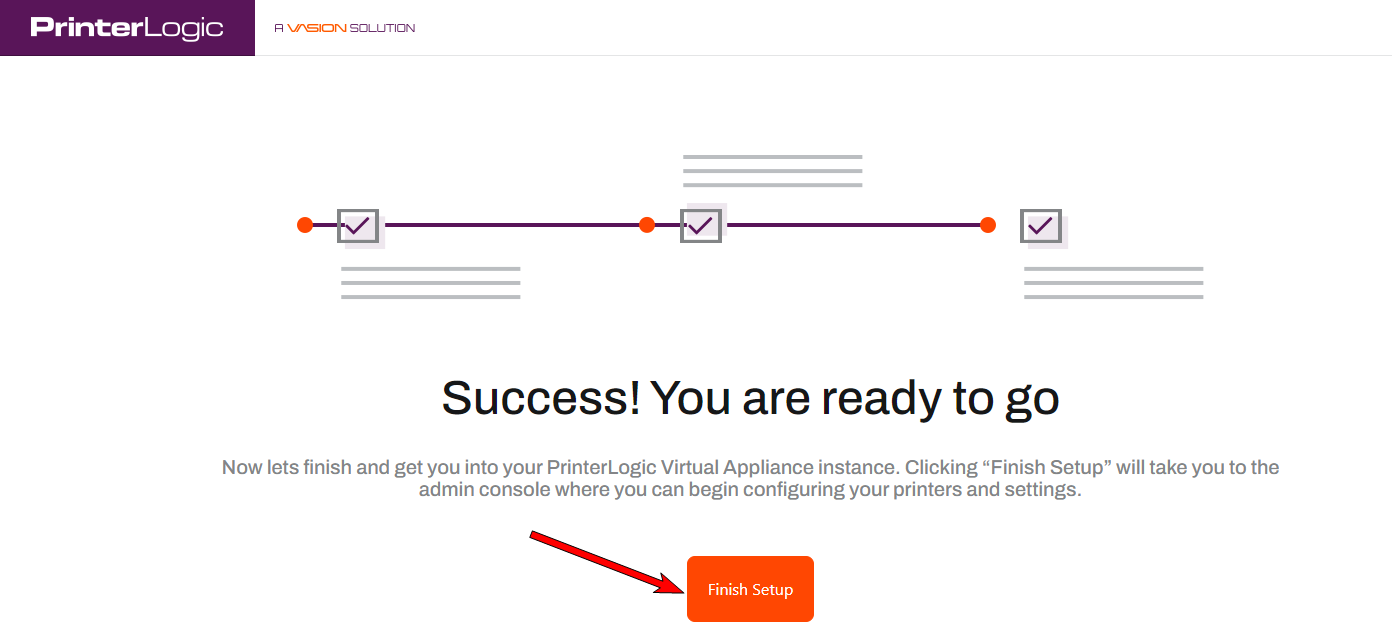
Click Finish Setup.

Please do not refresh the page during the installation procedure.
- A new "Thank You" browser window will open when the installation is complete. This window can be closed as needed.
-
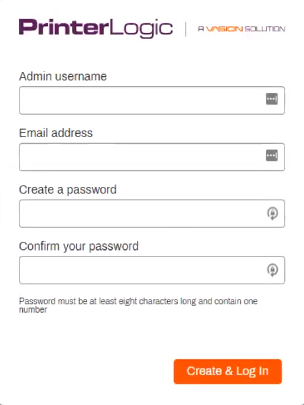
The PrinterLogic Virtual Appliance login window appears, where you can set up your Admin Console login credentials. See the Set up Login Credentials topic if needed for more information.
- Once logged in, you will need to accept the License Agreement.
-
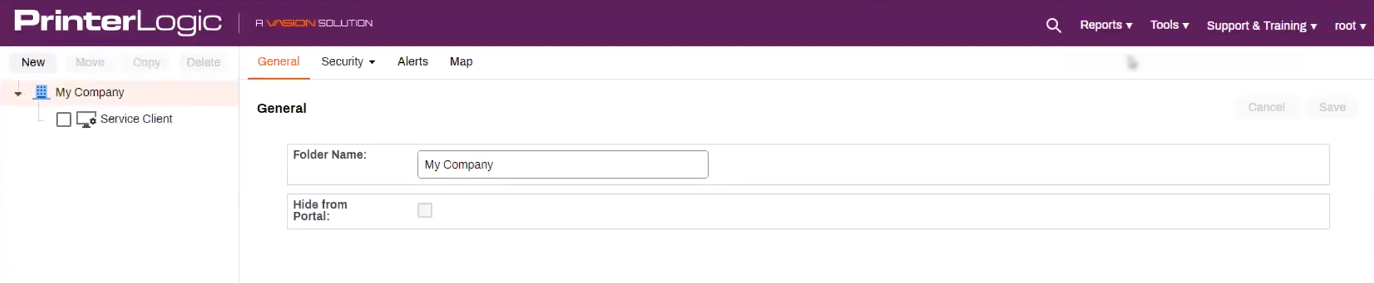
You are now ready to work with your PrinterLogic Virtual Appliance.


Accessing customer data files
If you need to add or update a license file or certificate or access the log files, you will need to map a network drive to the Virtual Appliance folder share. This can be done by using a non-elevated command prompt using a command similar to:
net use V: \\<hostname>\appliance-storage <password> /user:Admin /p:yes.
If the password contains special characters you will need to place "quotes" around the password.
Make sure you use a non-elevated command prompt to map the drive. If you have Windows UAC enabled on your workstation, drives mapped from an elevated command prompt are not visible in Windows Explorer by default. You can find additional information in Microsoft documentation.
-
New Mobile App Release
iOS: November 11th, 2024 -
Released: November 11th, 2024
-
Released: October 22nd, 2024
Updated Application Version Included