Last updated: January 29, 2024
Client Updates
The PrinterLogic Client is updated regularly for improvements. You can update the client both manually and automatically.
About Client Updates
The manual update lets you download the latest client package (.exe, .msi, .pkg, .rpm, and .deb), which you can provide to end-users or place in a location on your network so they can use it to update the client on their workstations.
You can also configure settings in the Admin Console to automatically update the client the next time the client check-in is triggered.
Finally, you can update the client via command prompt, GPO, etc. The following steps describe the processes for updating the client on end-user's workstations.
Option 1: Update From Admin Console
To automatically update the Client through the Admin Console, do the following:
- Log in to the Admin Console.
- Click Tools
 Settings Client.
 -
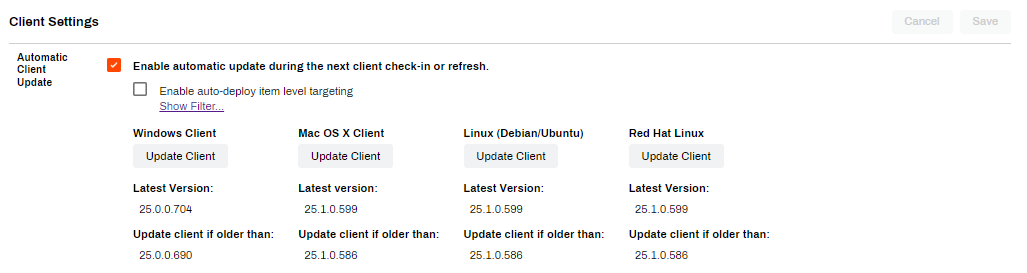
Scroll to the Automatic Client Update section.
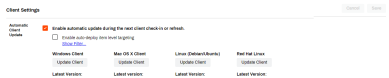
-
Select Enable automatic update during the next client check-in or refresh.
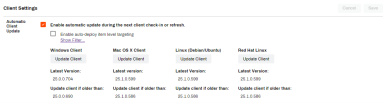
- Below, click Update Client for the operating system type installed on the end-users' workstations
- Click Save.

The client will update the next time the client check-in is triggered. Either at a timed interval (configured in Tools ![]() Settings
Settings ![]() Client under the Client Check-in section), during a system startup/logon, or by manually starting the client check-in from the system tray icon. For more information, reference Refresh the Client.
Client under the Client Check-in section), during a system startup/logon, or by manually starting the client check-in from the system tray icon. For more information, reference Refresh the Client.
Option 2: Manually Update
To provide the client update to help desk technicians or end-users so they can install it on their workstations, do the following:
If you already have another PrinterLogic Client installed on the workstation. You will need to uninstall the previous version before the updated client can be installed.
- Log in to the Admin Console.
- Click Tools Settings Client.
-
In the Deployable Client Packages section, click the button that corresponds to the operating system on which the client currently is installed to download the package.


When the download is complete, you can provide the file to any help desk technicians or end-users for them to install the client on their workstations.
Option 3: Third Party Software Update
The Client uses the same GUID for each new version. Therefore, we suggest you use an alternate identifier when deploying the update with a deployment tool (SCCM, Intune, etc.).
You can deploy or update the Client via command prompt, script, batch file, or Group Policy by doing the following:
- Log in to the Admin Console.
- Click Tools Settings Client.
-
In the Deployable Client Packages section, click the link corresponding to the operating system installed for the workstations to download the package.
-
Run the following command through a command prompt, script, batch file, or group policy to deploy or update the client on end-users' workstations.
Copy CodePrinterInstallerClient.msi REINSTALLMODE=vomus REBOOT=ReallySupress REINSTALL=ALL /qn /norestart
-
Release Date: 17 May, 2024
-
Windows Client Release Notes Updated
Release Date: 16 May, 2024
-
Mac/Linux Client Release Notes Updated
Release Date: 16 May, 2024
-
Chrome OS Client Release Notes Updated
Release Date: 24 April, 2024
-
Topic on additional options.
-
A new topic has been added for HP devices using ONCP
-
A setting has been added to only print attachments.