Last updated: September 20, 2024
Configure OAuth 2.0
The steps below are for configuring OAuth 2.0 for Email Printing, Direct Email Printing, and Direct Guest Email Printing.
Configure App Registration
1. Register the Application
- Log into your Entra ID (Azure AD) portal.
- Search for or select Microsoft Entra ID from the Azure Services menu.
- Select App registrations from the left-side Manage menu.
-
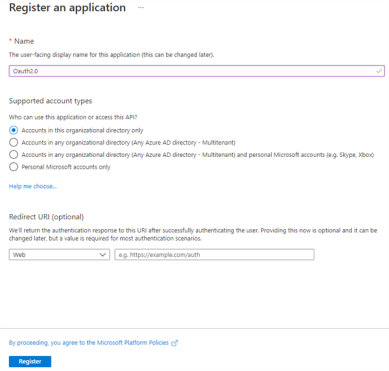
Select New registration.
- Give the application a unique name.
- Leave Supported account types set to Accounts in this organizational directory only.
- Select Register in the lower-left.
2. Set App Permissions
-
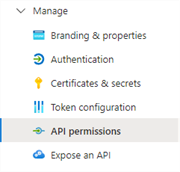
Expand the left-side Manage menu and select API permissions.
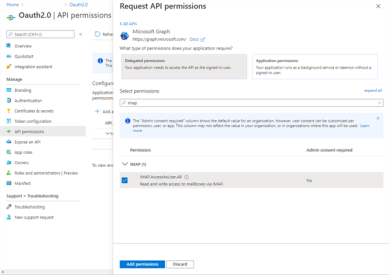
- In the Configured permissions section, select + Add a permission.
- Select Microsoft Graph, then select Delegated permissions.
- Search for IMAP, expand the IMAP dropdown, then select the IMAP.AccessAsUser.All option.
- Select Add permissions.
- In the Configured permissions section, select + Add a permission.
- Select Microsoft Graph, then select Delegated permissions.
- Search for Offline, expand the OpenId permissions dropdown, then select offline_access.
- Select Add permissions.
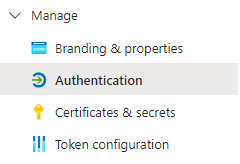
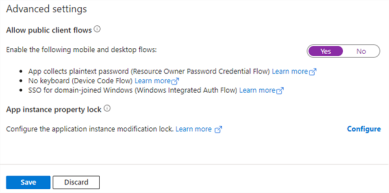
3. Set Authentication
Collect Application & Directory ID
The Email Printing configuration requires the Application and Directory ID from the app's Overview tab. Here are the steps to find the IDs needed to finish the configuration on the Virtual Appliance side.
- Select the Overview option from the left-side menu.
- Expand the Essentials dropdown.
- Copy the Application (client) ID and the Directory (tenant) ID.
- Provide the Application and Directory IDs to the Virtual Appliance administrator working on the configuration, or navigate back to the OAuth 2.0 Configuration section in the related topic.
New Updates/Features
Recent Updates
-
Released: November 21st, 2024
Updated Application Version Included
-
New Mobile App Release
iOS: November 11th, 2024 -
Released: November 11th, 2024

