Last updated: February 12, 2024
Print Job Costs
Find the Print Job Costs tab in the Admin Console at Tools ![]() Print Job Costs. The Print Job Costs settings enable an administrator to set up costing templates to assign print costs by paper size and printing type.
Print Job Costs. The Print Job Costs settings enable an administrator to set up costing templates to assign print costs by paper size and printing type.
Overview
With Print Job Costs, you set the cost of printing to a costs template, then assign the template to a printer object in the tree view. By default, Print Job Costs provides one adjustable cost template named Default Costs which is visible when the Print Job Costs page is first visited. Each cost template provides a line item for the Other paper type, which applies to any paper type not configured in the template. Click the plus sign icon (+) to add additional rows and specify the paper type. (i.e., letter, legal, etc.) When a template is ready, apply the template to a printer object's General tab under the Print Job Costings field.
Once you configure the cost per paper type and printing type (i.e., color, duplex, etc.) and assign the template to a printer object, the printer associated with that template reports print jobs using the applied costs. If a print job outputs on paper that is not defined or recognized in the cost template, then the cost in that template's Other column is applied.
Access the Print Job Records report in the Admin Console at Reports ![]() Print Job Records. For more information on this report, reference Print Job Records Report.
Print Job Records. For more information on this report, reference Print Job Records Report.
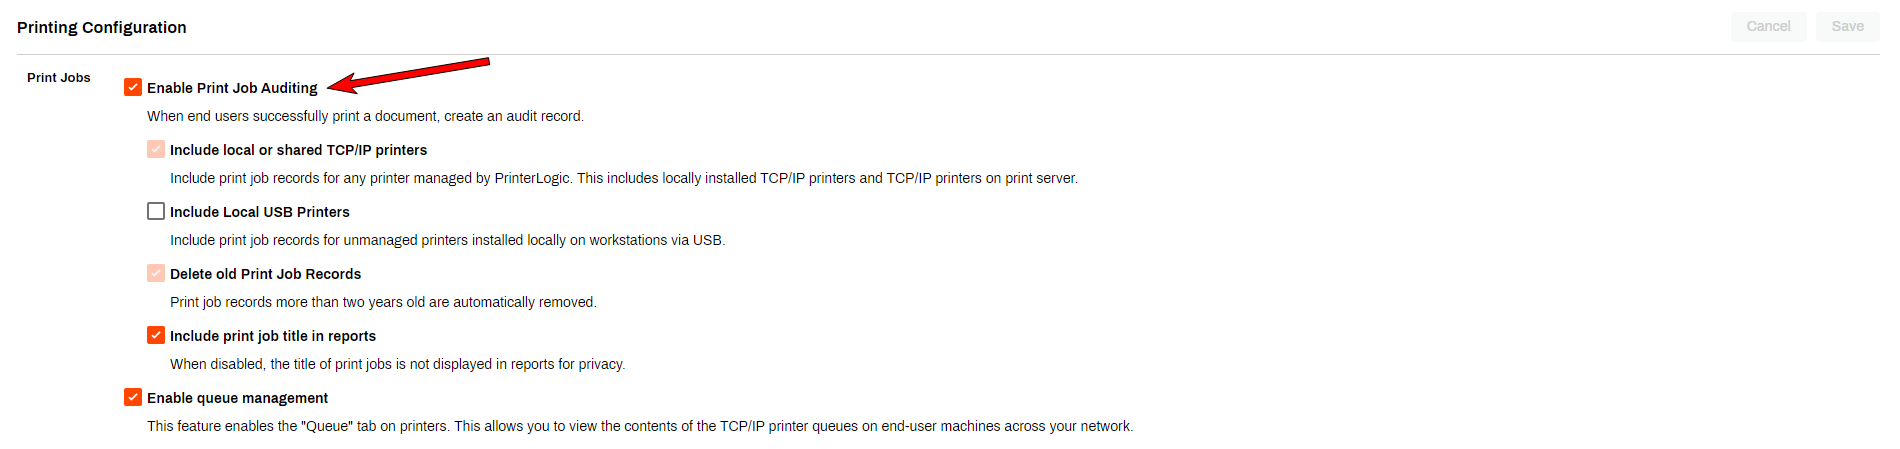
Enable Print Job Auditing
Enabling Print Job Auditing allows for audit records to be created and print jobs included in reports.
- In the Admin Console, click Tools
 Settings Printing.
 - Click Enable Print Job Auditing.
- By default, Include Local or Shared TCP/IP Printers and Delete Old Print Job Records are enabled.
- Optional Settings:
- Include Local USB Printers.
- Include Print Job Title in Reports.
- Click Save.
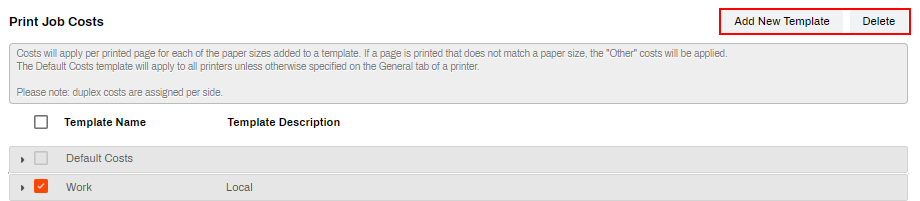
Adding / Deleting Templates
In the upper right are the options for Add New Template and Delete. The Default Costs template can be adjusted, but not deleted.
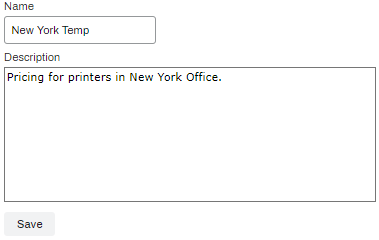
- Click Add New Template to generate a blank template.
-
Fill in the Name and any notes you want added to the description.

- Click Save. The template displays and costs are configurable in the list.
-
Select the check box next to the template name.

- Click Delete in the upper right.

Configuring Costs
Each template starts with the Other row, the default paper type row. The Other row cannot be deleted since it is the catch-all for non-defined paper types, but the cost points are adjustable. Add additional rows for specific paper types using the plus sign icon (+) in the lower left. After adjusting cost points for a row, click the Save icon to the right.
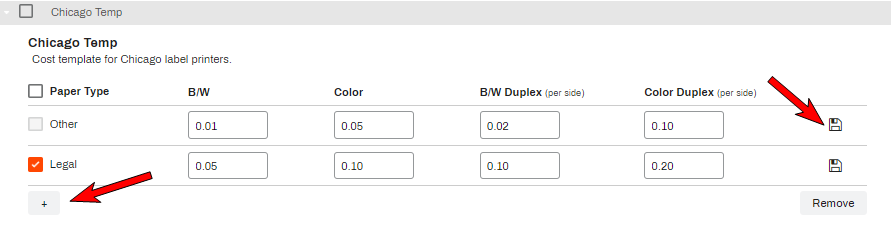
- Set Costs: Use the B/W / Color fields to set the price per page, or the Duplex options for "per side" costs.
- Other is the templates default cost and cannot be deleted.
- Paper Type: Assign costs for specific paper types.
- Use the plus sign icon (+) in the lower left to add a new row.
- Use the drop-down to select the paper type.
- Save: Click the save icon to the right of each row.
- All of these fields must have an entry, even if it is 0.00, for you to be able to save the paper type to the template.
- Remove: To remove a row, check the row's box and click Remove.
Applying Cost Templates
Once a cost template is created, navigate to the printer object's General tab to apply it.
- Select the template from the Print Job Costing drop-down.
- Click Save.
- This will need to be done for each printer using the template.

-
New Mobile App Release
iOS: November 11th, 2024 -
Released: November 11th, 2024
-
Released: October 22nd, 2024
Updated Application Version Included