Last updated: February 12, 2024
Configuring OAuth 2.0
The steps below are for configuring OAuth 2.0 for Email Printing.
Configure App Registration
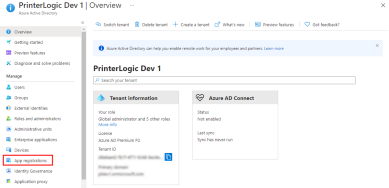
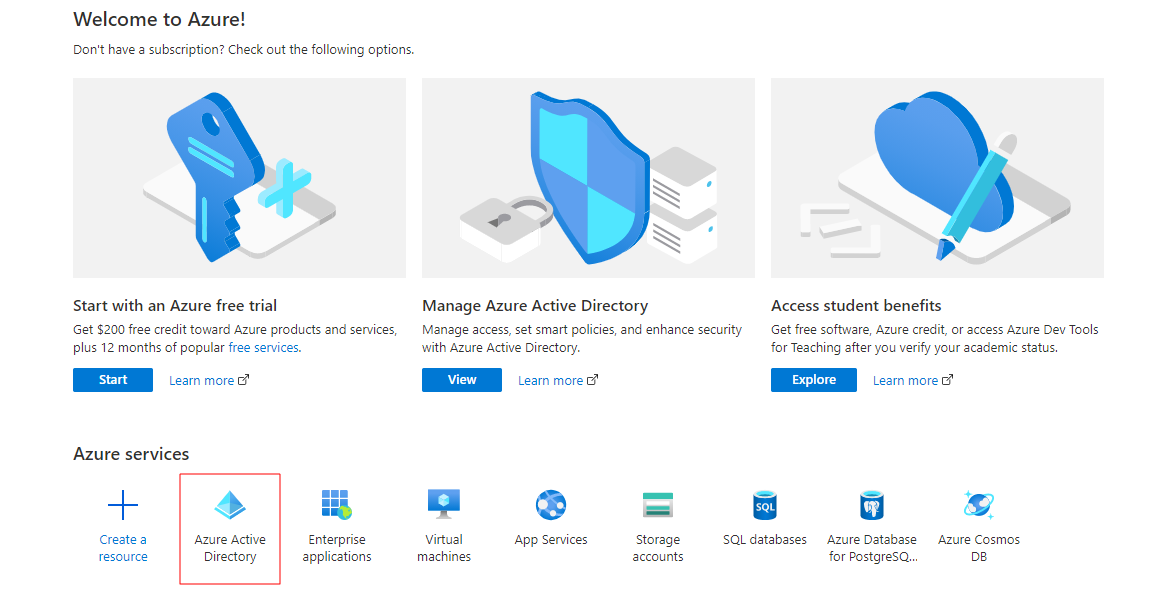
- Log into your Microsoft Azure portal.
-
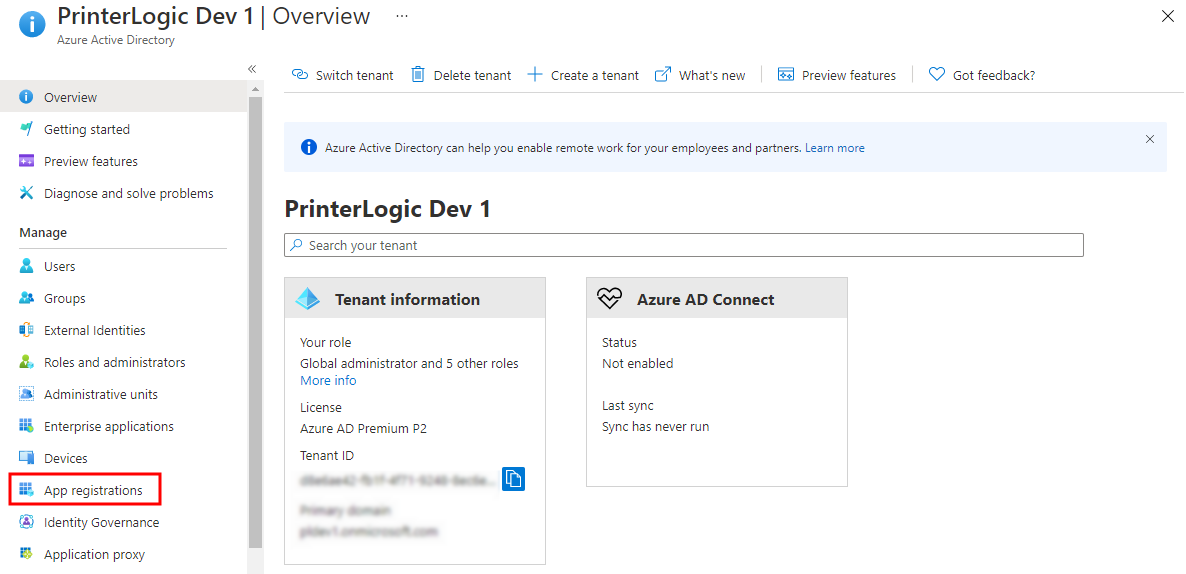
Select Azure Active Directory.

-
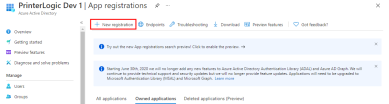
Select App registrations.
-
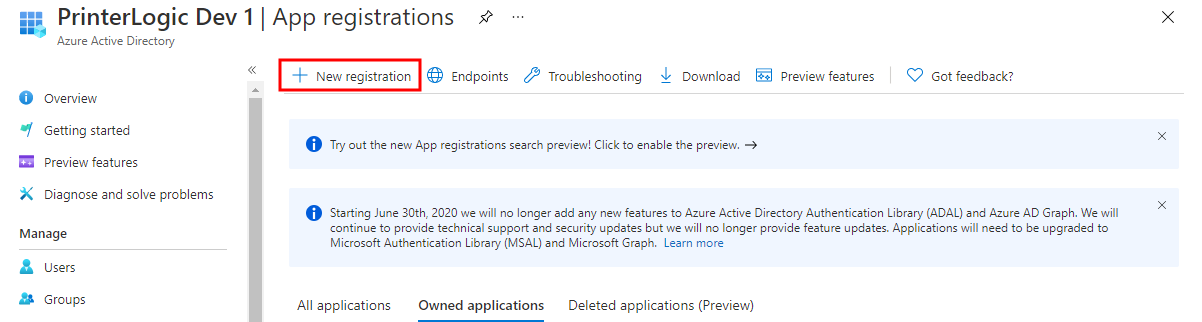
Select New registration.
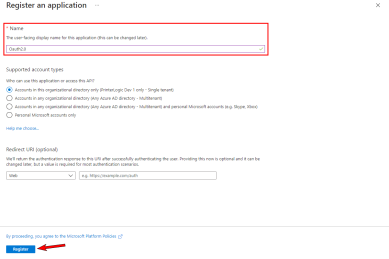
- Give the new registration a name that will be easily recognized as pertaining to OAuth.
-
Leave all other settings as they are, and click on Register.
-
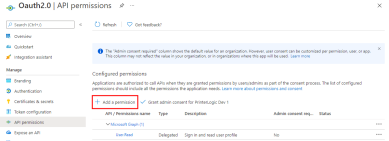
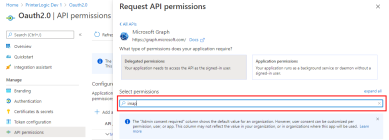
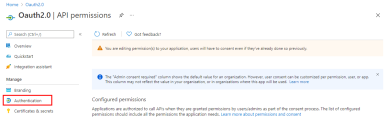
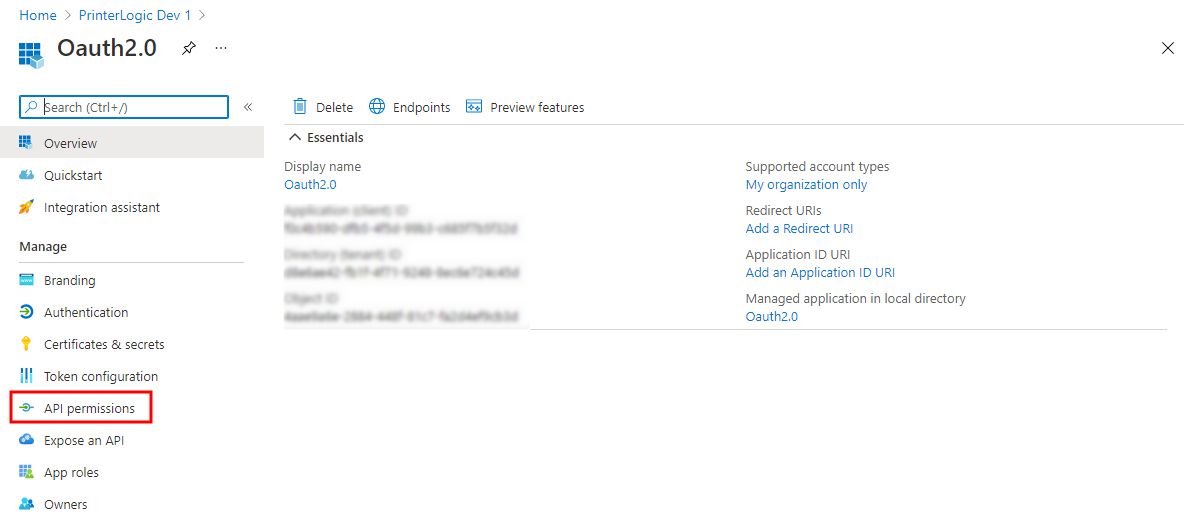
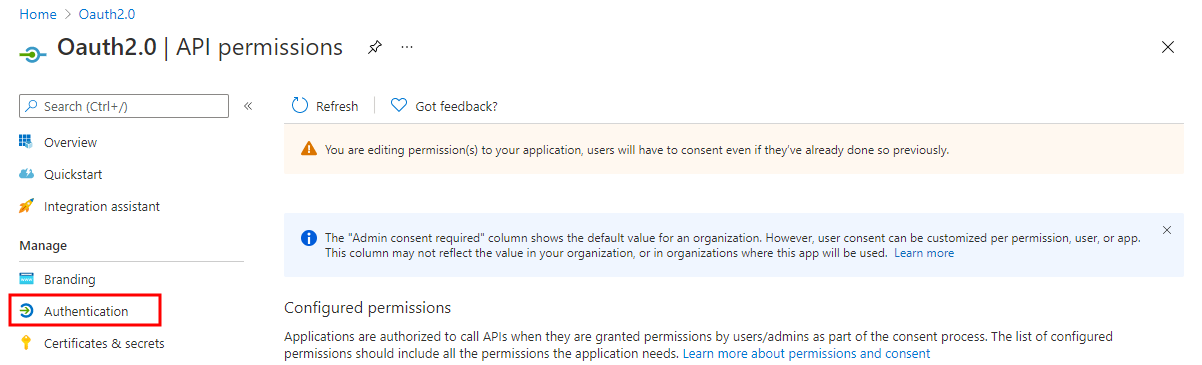
Select the API permissions menu.

-
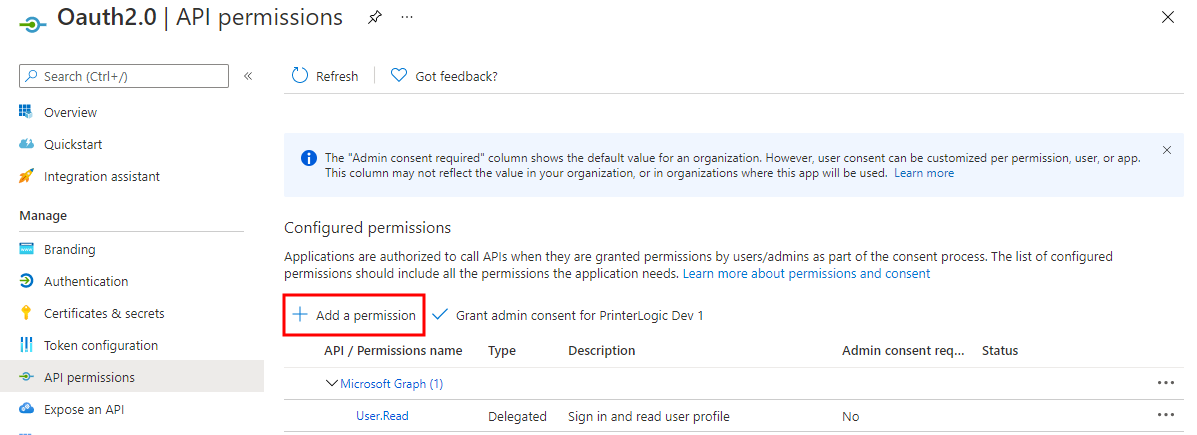
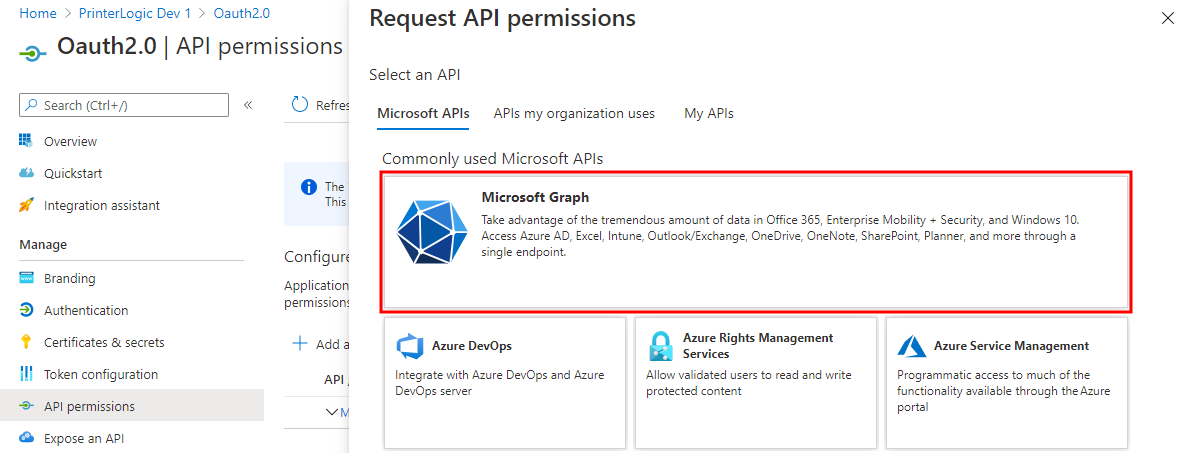
Select Add permission.
-
Select Microsoft Graph.

-
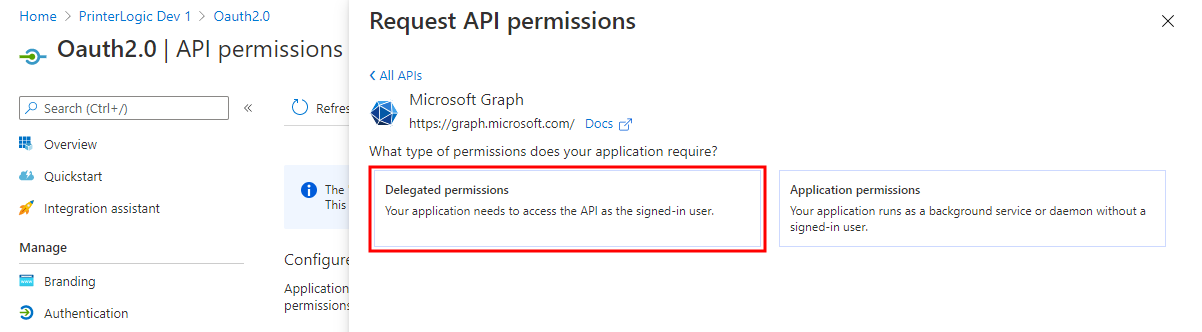
Select Delegated permissions.

-
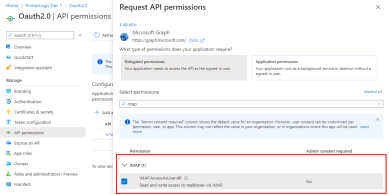
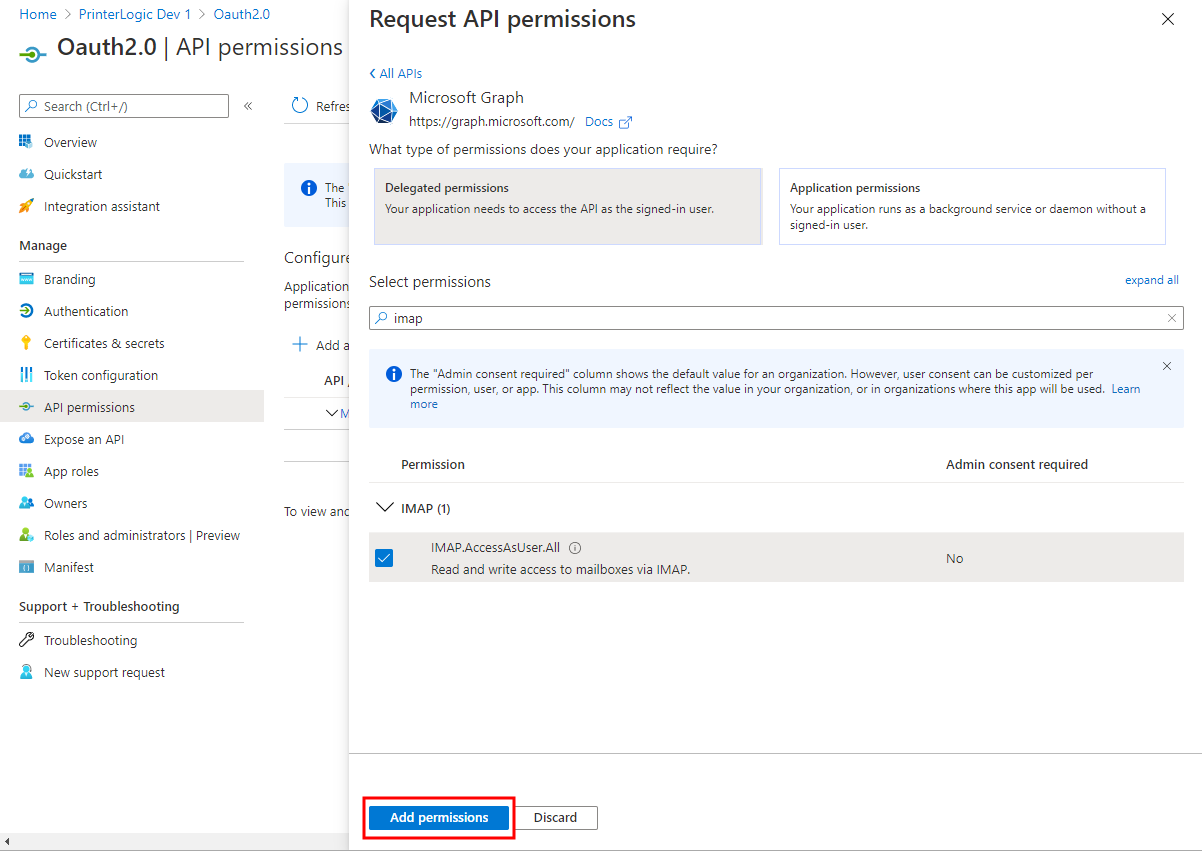
Search for imap.
-
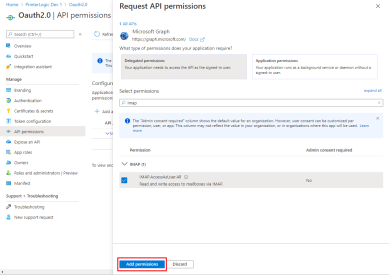
Click on the IMAP permission drop-down and click the box for IMAP.AccessAsUser.All.
-
Click on Add permissions.
-
Select Add permission.
-
Select Microsoft Graph.
-
Select Delegated permissions.
-
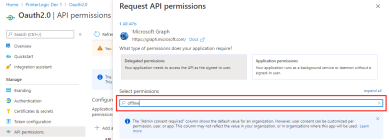
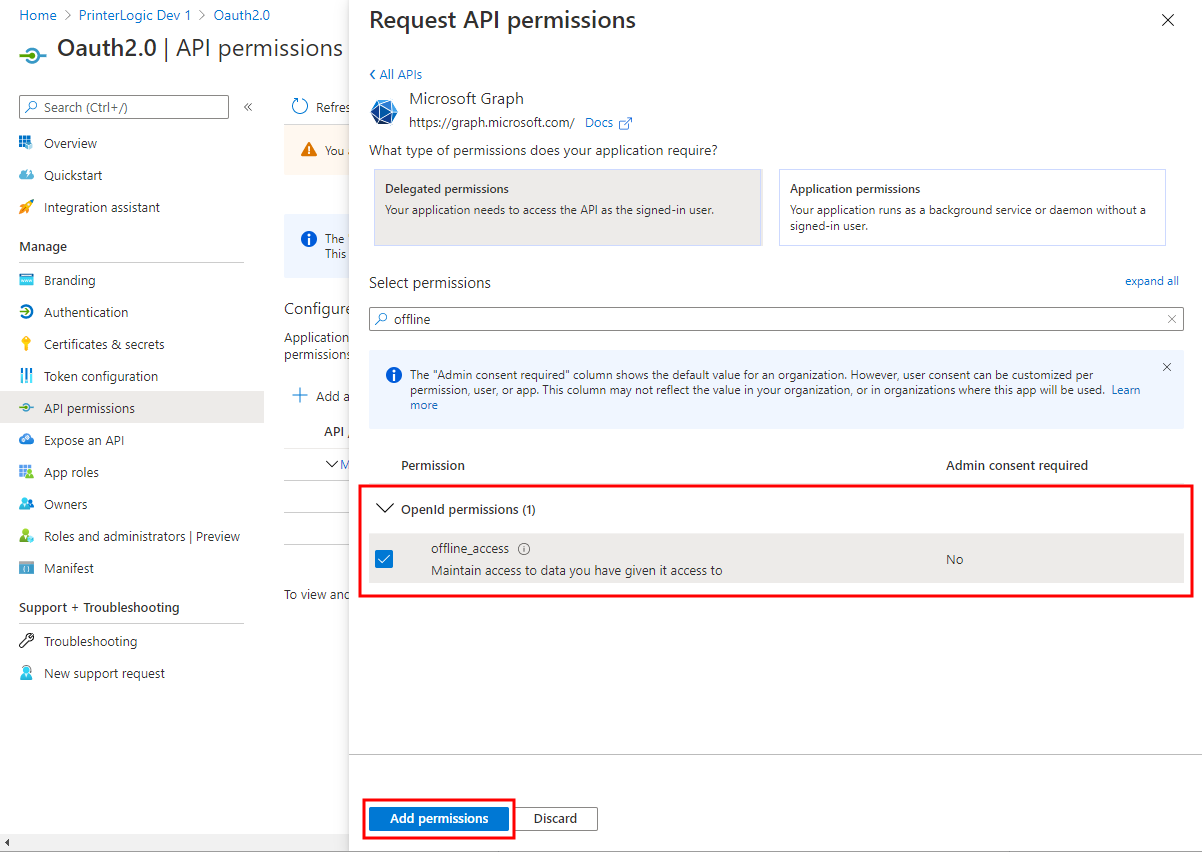
Search for offline.
-
Click on the box for offline_access and click on Add permissions.

-
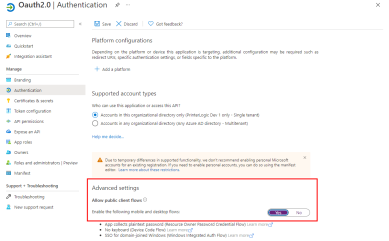
Select the Authentication menu.
-
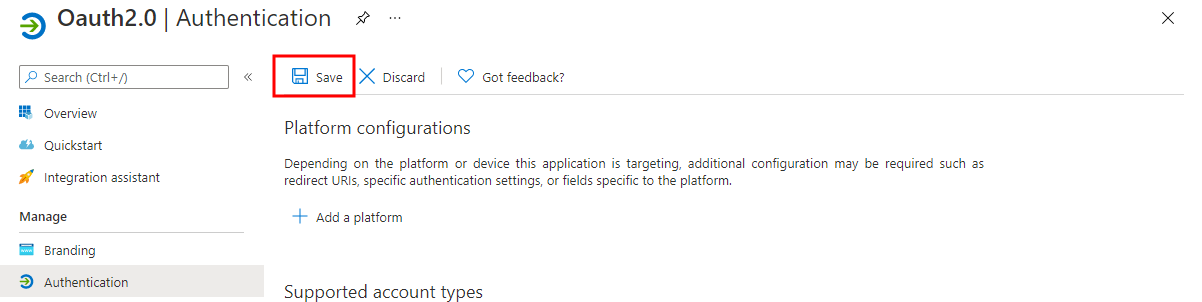
Under Advanced settings, set the Allow public client flows to Yes.
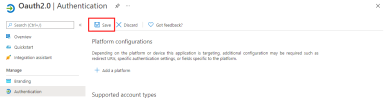
-
Select Save.
-
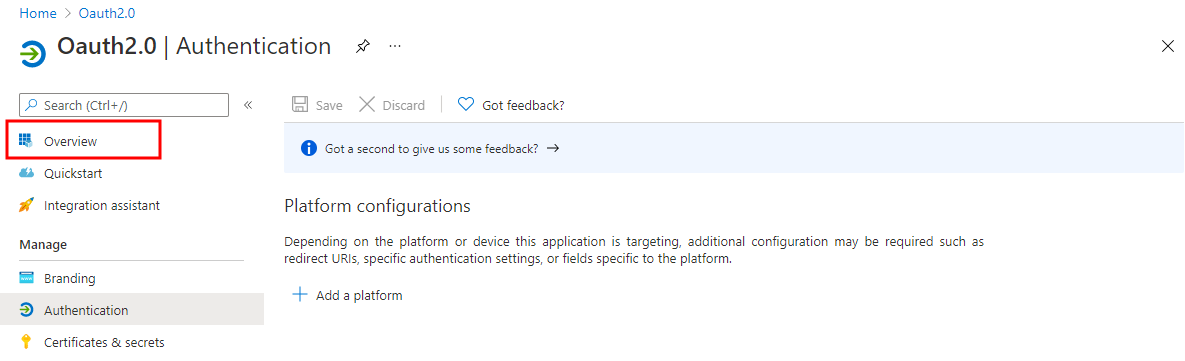
Select the Overview menu.

- Keep your Azure portal on this page so you can come back to it in later steps.


Configure OAuth 2.0
- Return to your PrinterLogic Admin Console.
-
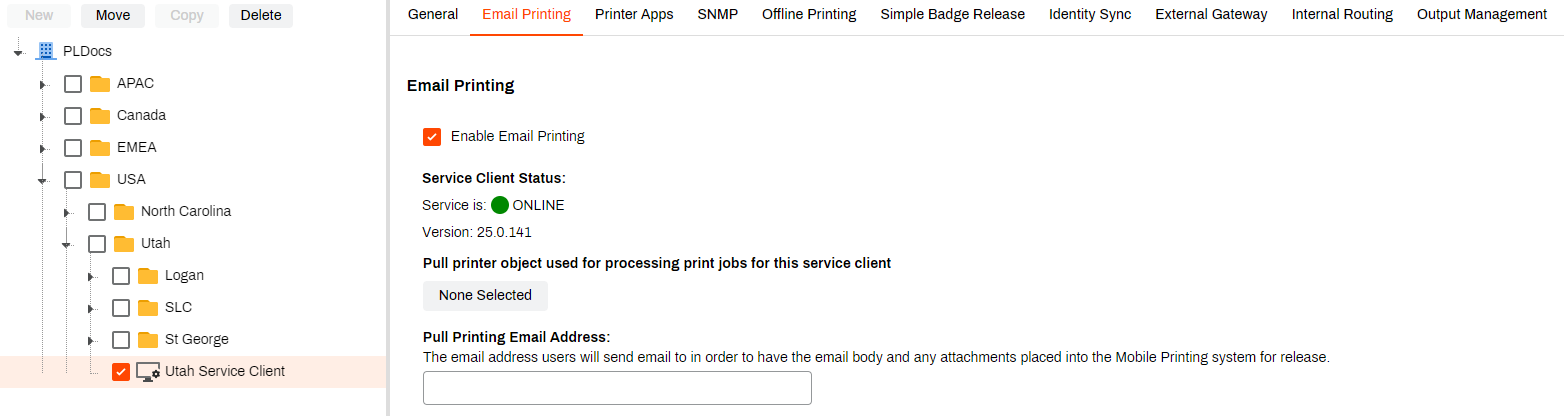
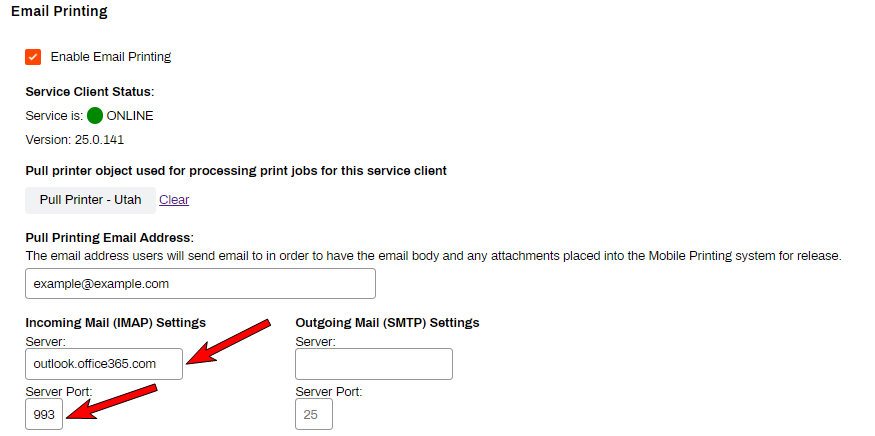
Ensure you have selected the Service Client that will be used to run your Email Printing and are on the Email Printing tab.
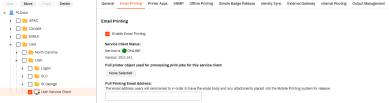
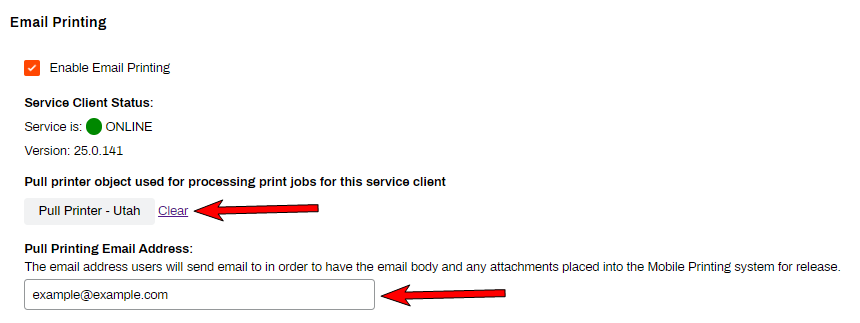
- Use the None Selected button to select the pull printer to use.
-
In the Pull Printing Email Address section, enter in the email address that will be used to send print jobs to the email printing system for release.

-
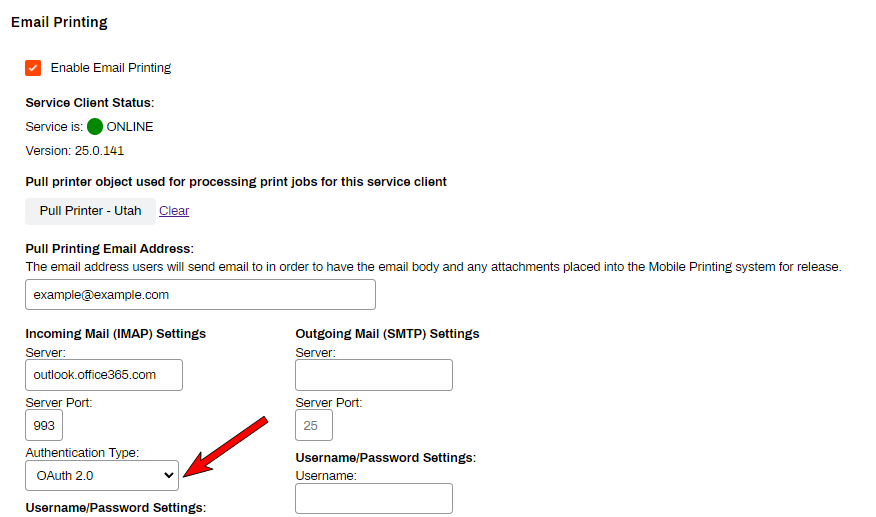
In the Incoming Mail (IMAP) Settings section, enter the Server and Server Port.

-
Select OAuth 2.0 as the authentication type.

-
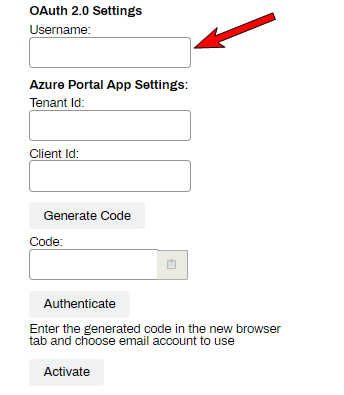
In the OAuth 2.0 settings section, enter an email address that has access to the Azure portal in the Username field.
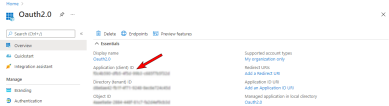
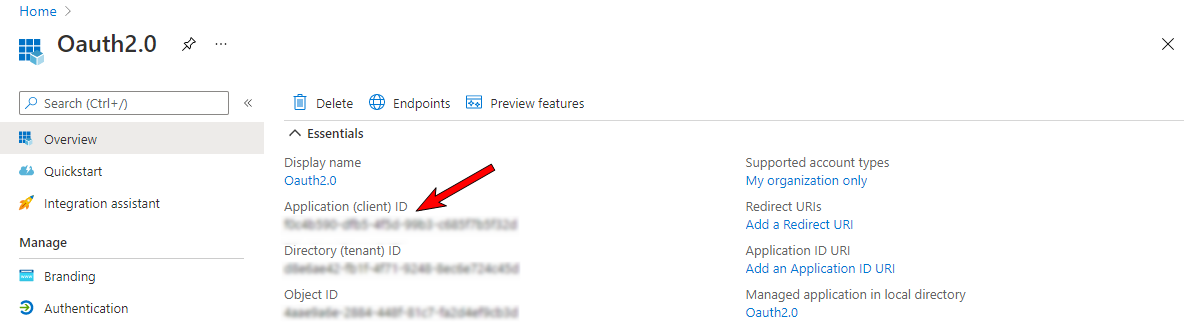
- Return to your Azure portal, and to the Overview screen you previously left open.
-
Copy the Application (client) ID.
-
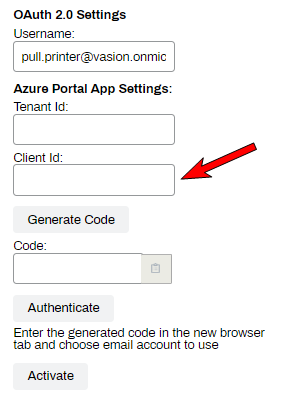
Return to your Admin Console, and in the Azure Portal App Settings section, in the Client Id field, paste the Application (client) ID that you just copied from the Azure portal.
-
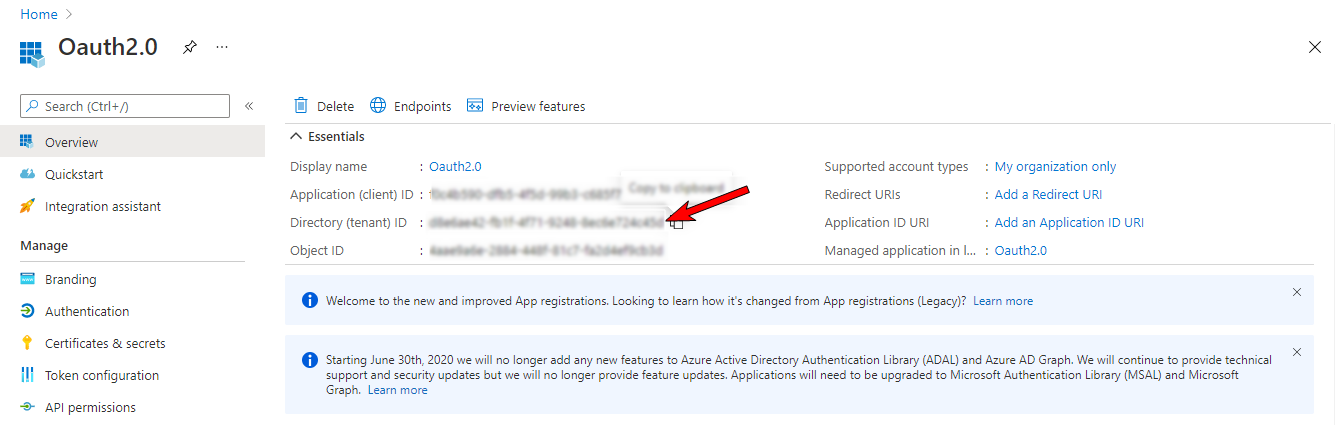
Return to your Azure portal, and copy the Directory (tenant) ID.

-
Return to your PrinterLogic Admin Console, and paste it in the Tenant Id field.

-
Click on Generate Code.
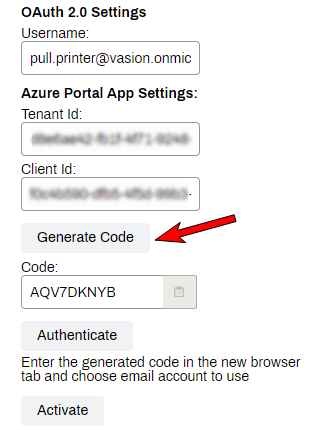
- Copy the provided code.
-
Click on Authenticate.
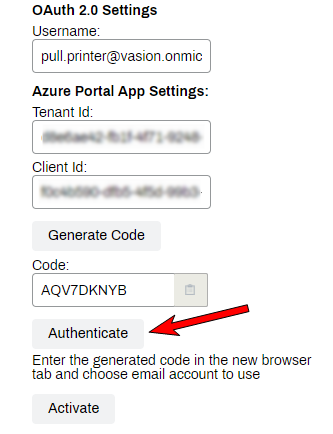
-
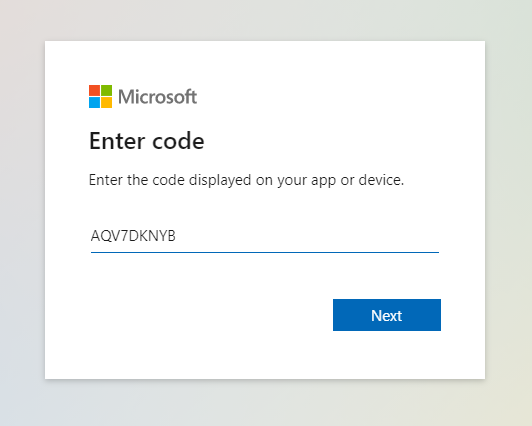
Paste the code in the Microsoft screen that opens and click Next.

-
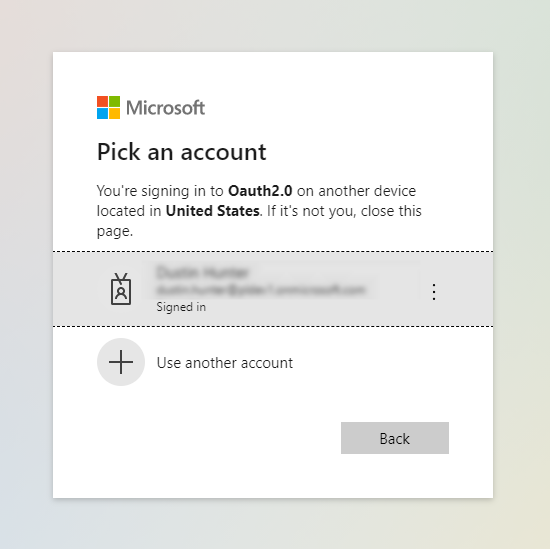
On the next screen, log in with the same username that was just set in the email field in Admin Console.
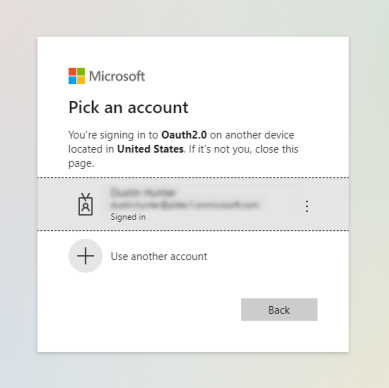
-
Select the Consent on behalf of your organization box, then click on Accept.

-
Return to the PrinterLogic Admin Console and click on Activate and wait for the Activation was successful prompt.

- Save your changes.


-
Released: September 3rd, 2024
-
Updated Supported ChromeOS Version
Supports ChromeOS 109+
-
New Mobile App Releases
Released: August 26th, 2024 -
New Host and Application Builds
Released: 8/20/2024
Updated Client Versions Included
-
Set Up Using VMM
Now Supporting Linux KVM Environments