We've Moved!
We've unified our Vasion Print (formerly PrinterLogic) and Vasion Automate documentation into a single, streamlined resource to better serve you. Visit our new unified documentation site: docs.vasion.com
Note: This legacy site will not be updated after January 6, 2025, and will remain available for reference until May, after which all traffic will automatically redirect to docs.vasion.com/a/Get_Started/Automate.htm.

Last updated: January 07, 2025
Copy/Scan Tracking
Copy/Scan Tracking uses SNMP to track and report the number of copies and scans on supported Multifunction Printers (MFPs). The Print Job Records report details the number of scans and copies on the selected printer for auditing and reporting purposes. Please note that devices that do not have a control panel authentication method configured will report Copy/Scan Tracking jobs as sent by "Guest." Devices with an authentication method configured report the user logged into the device(s) who made the copies / scans.
The Admin Console compiles this data in the Print Job Records report. To generate or schedule the report, navigate to Reports ![]() Print Job Records in the Admin Console. When pulling this data, we recommend selecting the Records report type sub-option.
Print Job Records in the Admin Console. When pulling this data, we recommend selecting the Records report type sub-option.
Installation Requirements
A Service Client with the following:
- The Printer Apps service enabled, which installs Copy/Scan Tracking on the printer.
- The SNMP service, which gathers SNMP data from the printers. For more details, see SNMP Status Monitoring.
See Create Service Client for more details on how to set up a Service Client.
Copy/Scan Tracking Manufacturer Support
Vasion Print (formerly PrinterLogic) currently support Copy/Scan Tracking for the following manufacturers:
- Canon
- Fuji Xerox
- HP
- Kyocera
- Konica Minolta
- Lexmark
- Ricoh
- Sharp
- Toshiba
- Xerox-supported MFPs
Enable Printer Apps on the Service Client
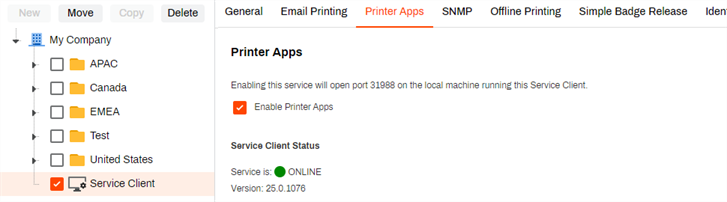
Once the Service Client is created and running, enable the Printer Apps service.
- In the Admin Console, select the Service Client.
- Select the Printer Apps tab.
-
Check the Enable Printer Apps option.
- Select Save
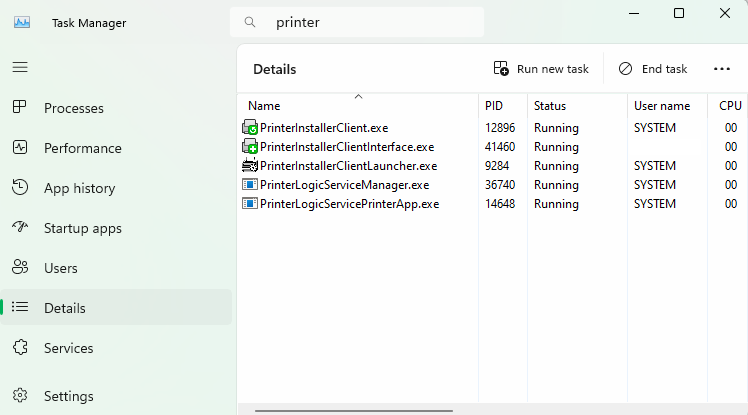
Verify the PrinterLogicServicePrinterApp.exe is Running
- On the Service Client, open Task Manager and select the Processes or Details tab.
- The PrinterLogicServiceManager.exe, the PrinterLogicServicePrinterApp.exe, and the three client processes should all be running.
- Services for other features enabled on the Service Client may also be running.
The Printer Apps service is what installs Copy/Scan Tracking on the printer. Once the Service Client is configured, enable Copy/Scan Tracking on the printer Apps tab in the Admin Console.
Install Copy/Scan Tracking
Canon, Kyocera, Lexmark, and Ricoh devices MUST have the CPA installed on the printer in order for Copy/Scan Tracking to work.
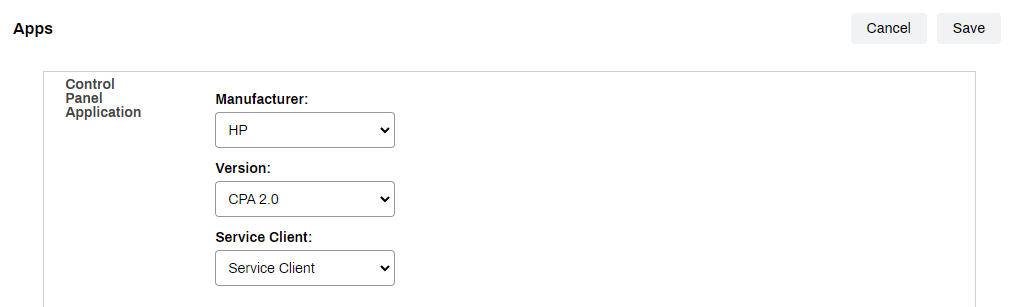
- In the Admin Console, navigate to the printer's Apps tab.
-
Select one of the supported manufacturers.
-
If prompted, in the Version drop-down, select the CPA version. (CPA 2.0 is recommended).
These fields are required to generate the option to install Copy/Scan Tracking.
-
Use the the Service Client drop-down to select the machine running the Printer Apps and SNMP service.

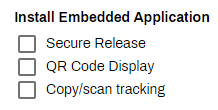
-
In the Install Embedded Application section select Copy/Scan Tracking.
- On Xerox devices only, additional Accounting Prompts options display to configure based on your preference.

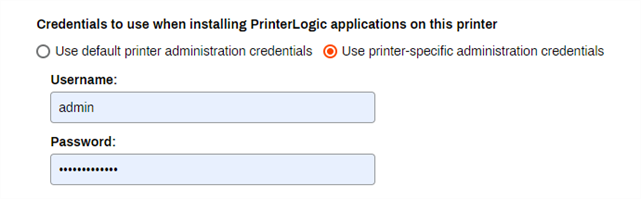
- Select Use Printer-Specific Administration Credentials.
Enter the user credentials to install the Copy/Scan Tracking app on the printer.
These are the same credentials used to log into that printer's web interface.

- Select Save
Copy/Scan Tracking Reporting
The Print Job Records report displays detailed data on the print jobs that have been released within a specific period of time. Copy/Scan Tracking jobs are included in the reports once the feature is installed on the printer. The Print Job Records report report offers a variety of Report Types to select from. The most common option to select for Copy/Scan Tracking is the sub-option of Records.
-
Week Ending In Jan 4th, 2025
-
Released: Dec 27th, 2024
-
Released: Dec 23rd, 2024
-
Android/iOS: Dec 23rd, 2024
-
Released: Dec 9th, 2024