Last updated: January 29, 2024
OM Plus Printing
OM Plus is primarily a back-end print management solution from Plus Technologies. OM Plus takes print jobs and ensures they print where, when, and how the customer needs them. Because OM Plus does not support the management of actual drivers and print queues, its platform integrates well with PrinterLogic to provide a comprehensive printing solution.
For the OM Plus options to appear in the Admin Console, you must have a license that supports the feature. Once the license is acquired and added to the instance, the options appear.
The added features are:
- When adding a new printer to the tree view, the OM Plus Managed Printer option displays. Once created, the printer object shows in the tree view with a slightly different icon than the TCP/IP printers.
- The Port tab of printer objects displays the OM Plus options for routing jobs, queue names, and servers. These settings allow you to use existing printer objects with OM Plus rather than creating new objects.
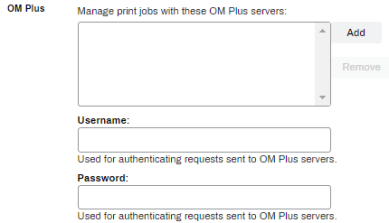
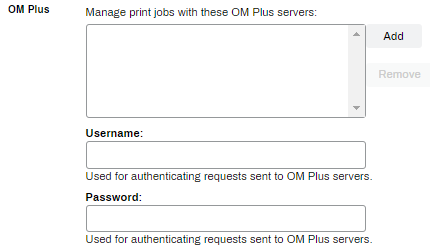
- In the OM Plus section on the Tools
 Settings General tab, fields display to add or remove OM Plus Servers and the username/password fields used to authenticate requests with the server.
Create an OM Plus Printer
- Select, or right click on the desired folder.
- Select New OM Plus Managed Printer.
- Configure the printer information and driver.
- OM Plus printer names cannot contain spaces or special characters.
- Click Add.
The OM Plus Managed Printer displays under the folder with a blue box on the icon. 
Configure Default or Printer-Specific
The OM Plus settings enable you to apply default or printer-specific settings to the OM Plus Managed Printer.
Default
If you opt to use the default settings:
- Navigate to the OM Plus section on Tools Settings General.
- Use the buttons to Add/Remove the default OM Plus Servers.
-
Add the Username/Password used to authenticate requests.
- Click Save.
- Navigate to the OM Plus Managed Printer object in the tree view.
- Select the Port tab.
-
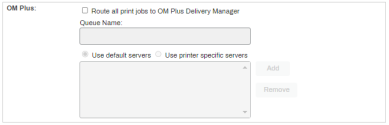
Check the box for Route all print jobs to OM Plus Delivery Manager.
This setting can be enabled/disabled at any time. Disabling this setting will stop print jobs from routing to the OM Plus server.
-
Verify the Queue Name.
- The queue name populates from the Printer Name field on the printer object's General tab.
- Changing the Printer Name field prompts with a message the queue name will change on the OM Plus server.

-
If not already enabled, select the default option for Use default servers in the OM Plus section.
- This field populates from the servers entered on Tools Settings General.
- This field populates from the servers entered on Tools
- Click Save.

Printer-Specific
If the OM Plus printer requires a different server than those added to the default server list, add them to printers using these steps.
- Navigate to the OM Plus section on Tools Settings General.
-
Add the Username/Password used to authenticate requests.
- The username/password fields on Tools Settings General are required when using both the default and printer-specific settings. Though they are configured in the same place as the default servers, they apply to both configurations.
- The username/password fields on Tools
- Click Save.
- Select the OM Plus Managed Printer object in the tree view.
- Select its Port tab.
-
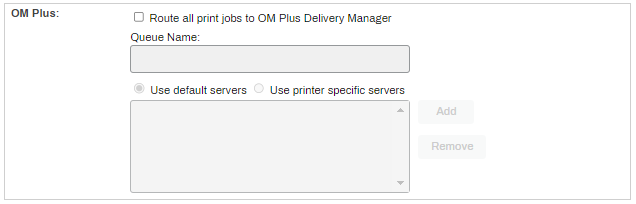
Check the box for Route all print jobs to OM Plus Delivery Manager.
This setting can be enabled/disabled at any time. Disabling this setting will stop print jobs from routing to the OM Plus server.
-
Enter the Queue Name.
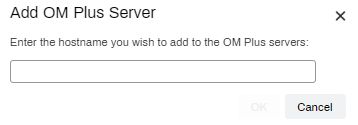
- Select Use printer-specific servers.
- Click Add.
-
Enter the OM Plus server hostname, for example, omplus.demo.com.
- Add any additional servers.
- Click Save.

-
Released: September 13th, 2024
-
Released: September 3rd, 2024
-
Updated Supported ChromeOS Version
Supports ChromeOS 109+
-
Released: August 26th, 2024
-
Released: August 22nd, 2024