Last updated: August 13, 2024
Printer Deployment
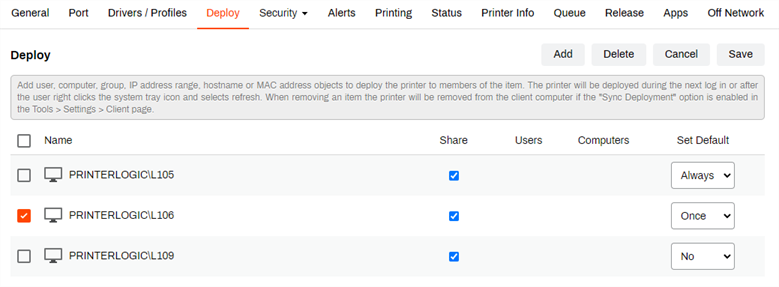
Printer deployment is the feature that automatically installs printers and drivers on workstations. Set deployment associations on each printer object's Deploy tab in the Admin Console. Endpoints with the Client installed will automatically install or update the printer and drivers when the association criteria are satisfied.
For example, deployments based on Active Directory or LDAP users are deployed to the endpoint when the user logs in and the Client verifies their information. Their printers are installed and available without self-installing from the Self-service Portal.
Printers without drivers attached will not deploy. Current deployment options are:
- Active Directory Users, Groups, Objects
- IdP Users and Groups
- IP Address Range
- Hostname
- MAC Address
- Chromebook Serial Number or Asset ID
- Advanced Groups
Printer Deployment Priority
- User
- Computer
- Group (user membership)
- Indirect user group (group is member from assigned group)
- Container user
- Container computer
- Child-container user
- Child-container computer
- IP address range (smaller range)
- IP address range (larger range)
Set up Deployments
- In the Admin Console, navigate to the printer object's Deploy tab.
- Select Add in the upper-right.
- Select the deployment association.
Active Directory
- Select User, Computer, or Group or Container, or OU.
- Verify the Object Types and Locations are correct.
-
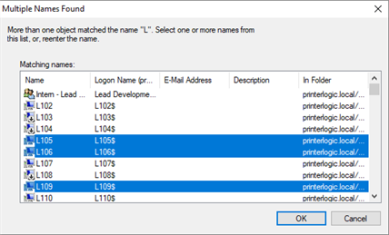
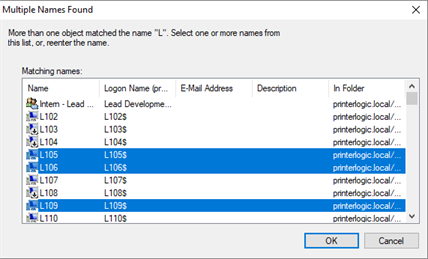
Enter the object name(s) in the box.
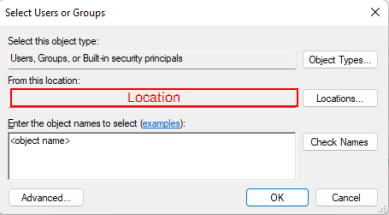
- Select Check Names.
- Select Add..

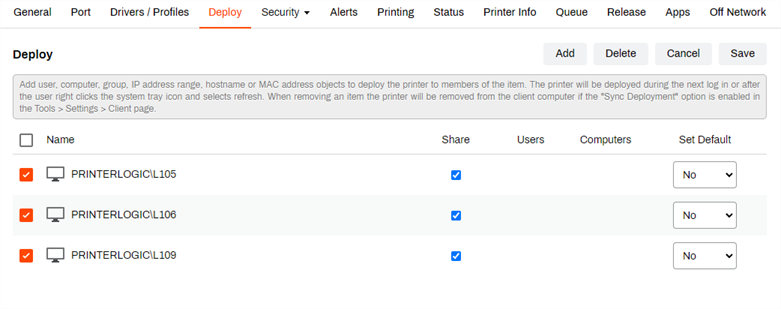
Deploy as Shared Printers
- Select the computer Active Directory targets.
-
Select OK.
-
When the computer(s) appears in the deployment list, select Share.
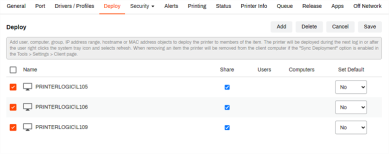
- Select Save on the top-right corner.
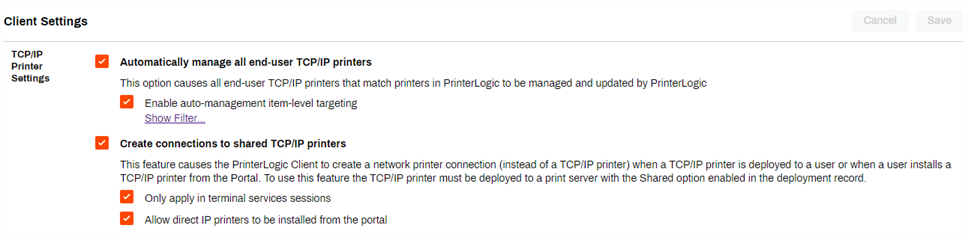
- Navigate to Tools
 Settings Client.
 -
In the TCP / IP Printer Settings section, select Create connections to shared TCP/IP printers.
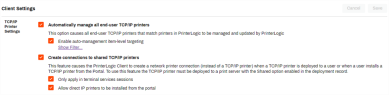
- Select Save
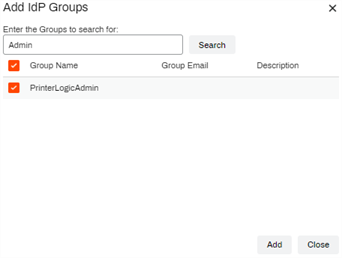
IdP Groups & Users
- Select IdP Users or Groups.
- Select Users or Groups.
- Enter in the username or group and click Search.
-
Check the box next to the desired user / group and select Add.

IP Address Range
To deploy to an IP Address Range, the range must already be created. For instructions, see IP Address Range Objects.
By Printer Object
- Select the printer object from the Admin Console.
- Select the Deploy tab.
- Select Add.
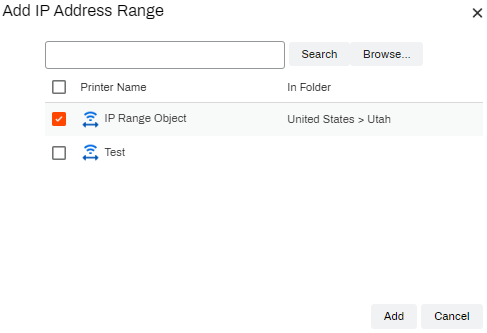
- Select IP Address Range.
-
Select Browse or enter in the name and select Search.
- Check the box next to the IP Address Range and select Add.
- Select Save on the top-right corner.
By IP Address Range
Use this method to add individual printers to the deployment.
- Select the IP Address Range object from the Admin Console.
- Select the Deploy tab.
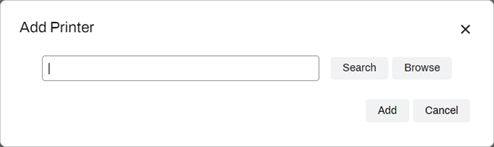
- Select Add Printer.
- On the Add Printer modal select from the following:
Enter the printer name and select Search.

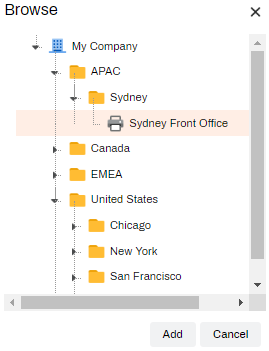
Select Browse.

- Select the printer and select Add.
- Select Save on the top-right corner.
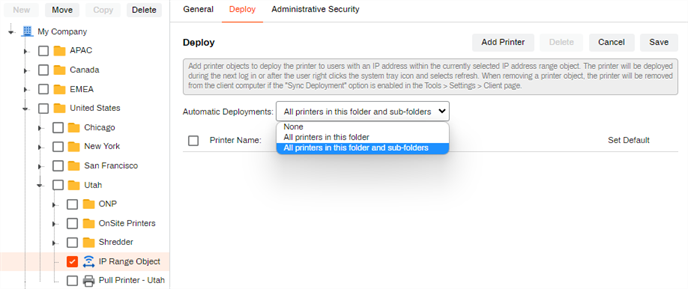
Use this method to mass deploy printers in the folder, or include subfolders to the devices in that range.
- Select the IP Address Range object from the Admin Console.
- Select the Deploy tab.
- Use the Automatic Deployments drop-down to select from the following:
- All printers in this folder.
- All printers in this folder and subfolders.
- Select Save on the top-right corner.
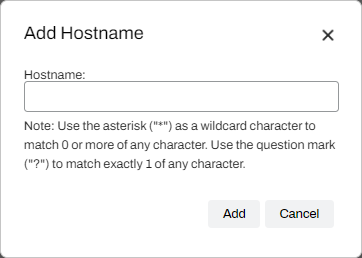
Hostname
- Select Hostname.
- Fill in the hostname.
- Select Add..
- Select Save on the top-right corner.
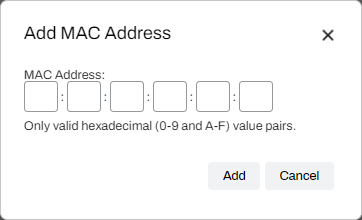
MAC Address
- Select MAC Address.
- Fill in the address.
- Select Add..
- Select Save on the top-right corner.
Chromebook Asset ID or Serial Number
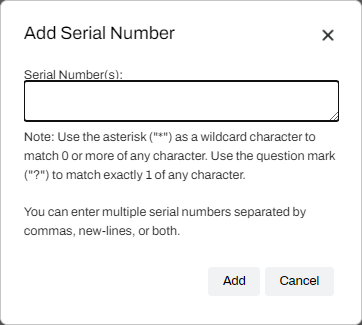
Serial Number
- Select Chromebook Serial Number.
- Fill in the serial number.
- Use commas, new lines, or both to separate multiple IDs.
- Select Add..
- Select Save on the top-right corner.
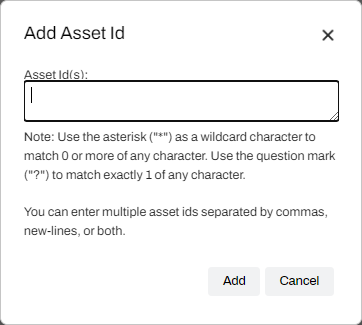
Asset ID
- Select Chromebook Asset ID.
- Fill in the asset ID.
- Use commas, new lines, or both to separate multiple IDs.
- Select Add..
- Select Save on the top-right corner.
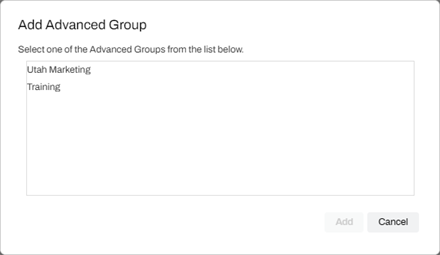
Advanced Groups
To deploy to an advanced group, the group must already be created.
- Select Advanced Groups.
- Select the group from the list.
- Select Add..
- Select Save on the top-right corner.
Sync Deployments
The Sync Deployment setting in helps manage deployed printers. When a deployment association isn't present, the deployed printers uninstall from the workstation. For example, if users receive IP Range printer deployments, those printers will be removed when the device leaves that IP Range. With the Keep Existing Printers option enabled, printers won't be removed if they existed on the workstation before the deployment was pushed out.
- In the Admin Console, navigate to Tools Settings Client.
- In the TCP / IP Windows Shared Printer Settings section, select Sync Deployment.
- Optional: Click Keep Existing Printers.
- Select Save on the top-right corner.

For complete details on sync deployment settings, see Sync Options.
Set Default Printer
Configure default printers on the Deploy tab, so they install and select themselves as the default printer on workstations. Default printers can still be assigned at the workstation, but adding that to the deployment removes the need for end user action. Using the Always option will adjust the default printer back during the client check-in, if it was changed.
- In the Admin Console, select the printer object's Deploy tab.
- Find the object to set as the default.
-
In the Set Default field, select Once or Always.

- Select Save on the top-right corner.
-
Released: November 21st, 2024
Updated Application Version Included
-
New Mobile App Release
iOS: November 11th, 2024 -
Released: November 11th, 2024